Application
Introduction
Configuration Editor allows you to define core settings that define how the zAppDev application works.
General
| Property | Description | Comments & Examples |
|---|---|---|
| Name | Name name of your Application, as defined while you where creating it | |
| Application Version | The version of your Application, denoted using a major.minor.build format | Must be incremented every time you Deploy the Application |
| Description | A friendly Description of the Application you are modeling | |
| Default Theme | This is the default theme, out of a list of pre-defined or your imported themes | 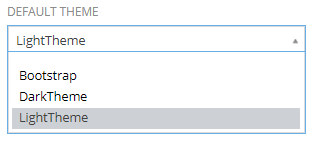 |
| Implementation Strategy | The Implementation Strategy with which you wish to generate (build) your Application. (e.g. the MVC Strategy uses a Model-View-Presenter pattern with ASP.Net, MS SQL etc. techgnologies) |  |
| Optional Libraries | A Multi-Selection of optional Libraries you can include in your Application, that have not been added by default |  |
| Build Mode | The mode in which your Application will be built during your next Build, Re-Build or Deploy operation. There are two options: Development and Production. Read the next section for more information. | 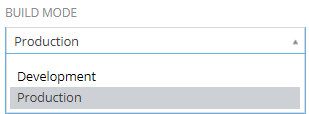 |
| Publish Method | Used during the Deployment procedure, it defines the way that your Application should be deployed. There are two options: File System and FTP. Read the Deployment & Integration section for more information | 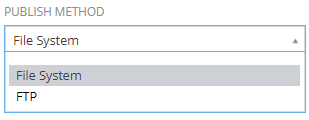 |
Default Pages
The configuration of the Default Pages allows you to select the exact Form and their Entry Point Controller Action to be shown/executed for the following pages:

- Default Page: the Landing Page of your Application
- Error Page: the page to load whenever an unexpected/uncought Error is detected during the Application's execution
- First Admin Setup Page: used most oftenly with a[Windows Authentication], this is the page that the very first Administrator of your Application is to be set
- Not Found Page: the page to load whenever a user requests a non-existent URL within your Application
- Sign In Page: the page that is used to authenticate a user
- Unauthorized Page: the page to load whenever a user makes an Unauthorized request
Hint
You can click the  button and be automatically navigated to the Controller Action executed at the Default Page of your choice
Localization
Using the Localization configuration you can define the Languages and Formats you want your Application to use in any of its parts (Forms, Logic, Functionality e.t.c.). The values you chose here will be used:
- Throughout your Application Models, in their Localization parts (e.g. translations of texts in Forms, Business Objects, Operations and more)
- In your generated Application, for a User to choose from.
For more information, check the table that follows:
| Property | Description | Example |
|---|---|---|
| Available Languages | A comprehensive list of Languages. You can add one or more, to be used in your Application. The languages you choose here, will be available as the Default Language and Default Regional Formatting options. | 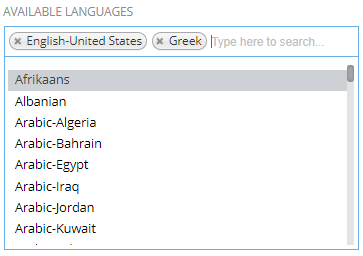 |
| Default Language | The Language to be presented to a User by default, before he/she selects his/her preffered one (out of the Available Languages selection) | 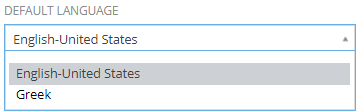 |
| Default Regional Formatting | The Regional Formatting to be used for a User by default, before he/she selects his/her preferred formattings (e.g. for dates, times, numbers etc.) | 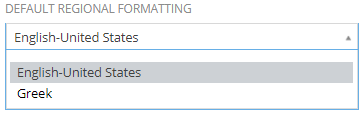 |
Global Resources
The Global Resources are mere translations of texts that you can use throughout your whole Application. They differ from the Local Resources (e.g. Localization Resources in a Business Object in that they can be defined once and used in any other Model (be that a Business Object, a Form, an External API etc.)
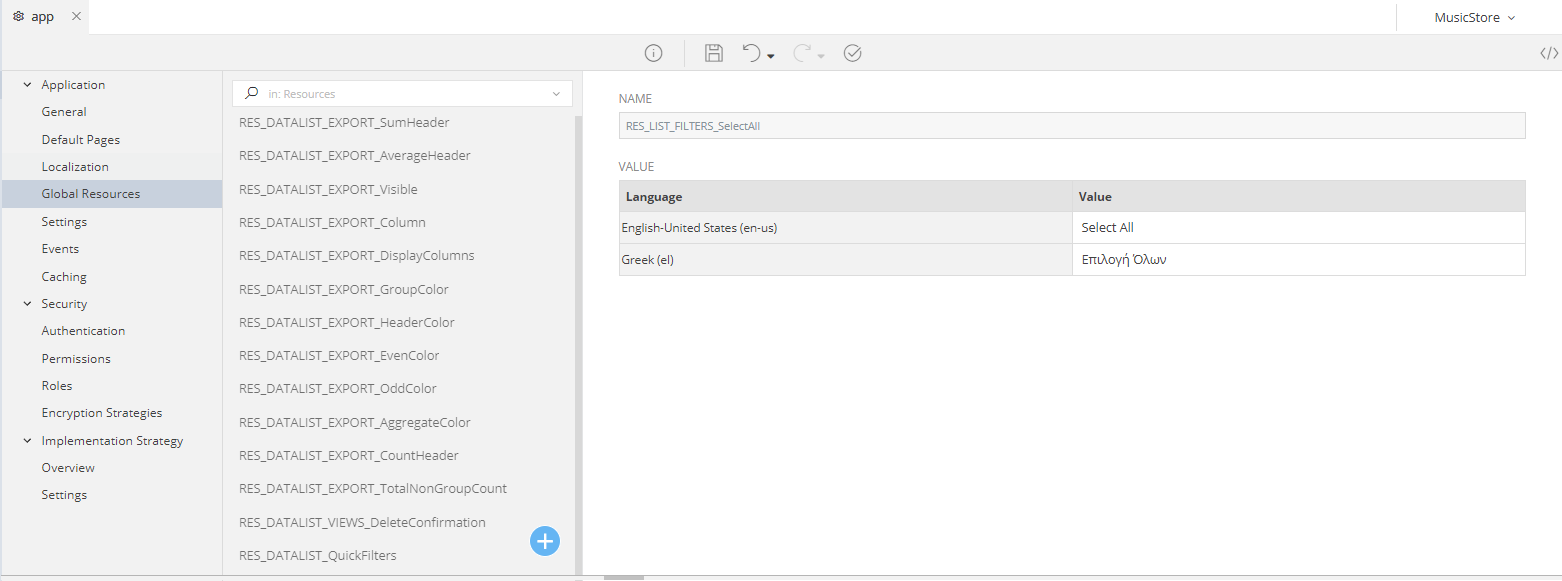
As you can see, a large number of resources has already been defined for you. These are the ones that are used by the Application in parts that you cannot quite alter (e.g. label texts inside complex/pre-created components, system messages etc.). You cannot delete them, however you can add their Translations, based on the Languages you chose in the Localization panel of the Configuration.
Tip
Try to use carefully your Global and Local Resources; put in the Global Resources only those translations you will really need globally.
Any resource (translation) you are using in just one Model, add it as a Local.
This will help you minimize the transmitted data between the back-end (that holds the Resources) and your front-end (that uses/shows them)
Settings
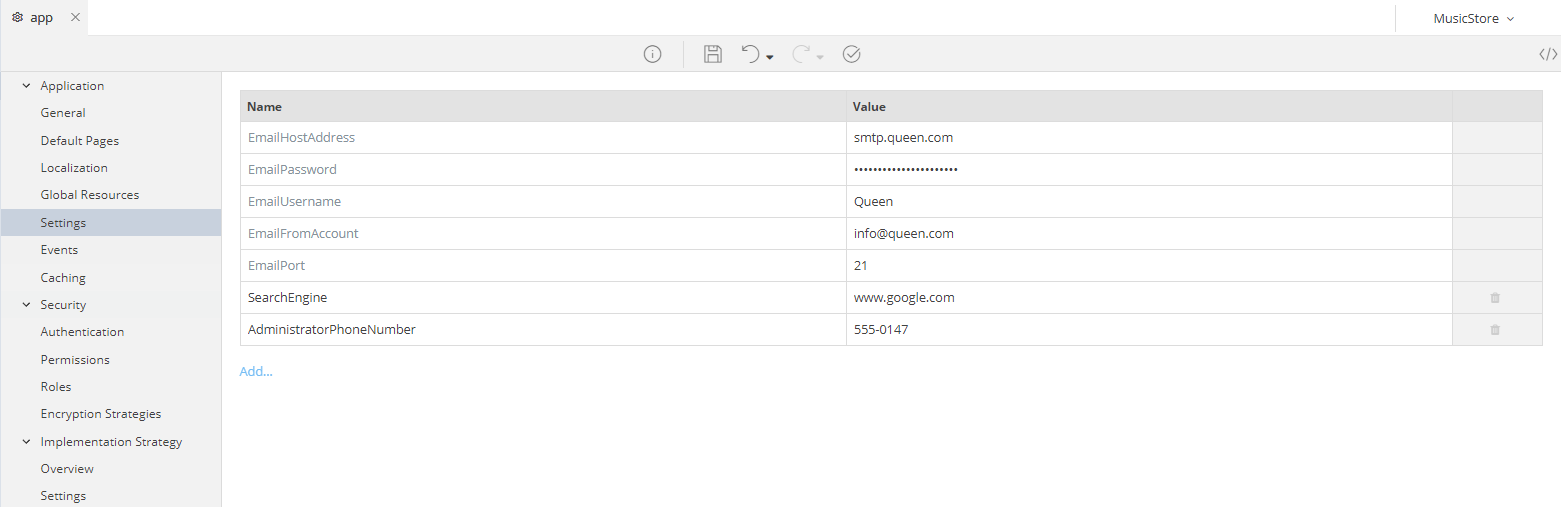
This section can be used to alter and add configuration settings into the web.config configuration file of your generated Application.
Anything you add here will be saved in the web.config in a key-value format, available to you from any part of your Application via the AppLib.Application reference regardless of its location, database data etc.
Attention
The Name of a setting must be unique.
Tip
These settings can be very helpful if you wish to change the location of your Application and seperate the settings.
Example: you may have one set of values for your E-Mail connection at your local location and a different for your remote; a "555-0147" Administrator Phone Number for your Application running in California and a "555-0155" for the one running in Alaska.
Events

This section can be used to define handlers for Application Events. By default there are 6 events, but you may add as many as you wish.
To add an event click on  and set the following properties:
| Property | Description |
|---|---|
| Event Name | A Name for the event |
| Parameters | The parameters required by the event |
| Handler | A Mamba function that is invoked every time the event is raised |
| Execute in parallel context | If true, all event handlers will run simultaneously instead of sequentially |
Default Events
SignIn
SignIn event is raised when a user successfully signs in to the application.
/* Handler Example */

static function void onSignIn(
    string UserName,
    DateTime Time
)
{
    var u = Domain.ApplicationUser.GetByKey(UserName);
    DebugLib.Logger.WriteInfoLine("User " + u.Name + " signed in on " + Time);

}
SignOut
SignOut event is raised when a user signs out from the application.
/* Handler Example */

static function void onSignOut(
    string UserName,
    DateTime Time
)
{
    var u = Domain.ApplicationUser.GetByKey(UserName);
    DebugLib.Logger.WriteInfoLine("User " + u.Name + " signed out on " + Time);

}
ApplicationStart
ApplicationStart event is raised when the application starts running.
/* Handler Example */

static function void onApplicationStart()
{
    Domain.AppHelper.Initialize(); // AppHelper is an example class!
    DebugLib.Logger.WriteInfoLine("App started on " + DateTime.Now());
}
ApplicationEnd
ApplicationEnd event is raised when the application stops running.
/* Handler Example */

static function void onApplicationEnd()
{
    Domain.AppHelper.Destroy(); // AppHelper is an example class!
    DebugLib.Logger.WriteInfoLine("App ended on " + DateTime.Now());
}
SessionStart
SessionStart event is raised when a user session starts.
/* Handler Example */

static function void onApplicationEnd()
{
    Domain.Statistics.NewSessionStarted(); // Statistics is an example class!
    DebugLib.Logger.WriteInfoLine("New Session started on " + DateTime.Now());
}
onOnInstanceSave
onOnInstanceSave event is raised when a Domain Class instance is successfully saved to the DataBase.
/* Handler Example */

if (Instance.GetType().Name == "ApplicationUser") {
    var user = Instance as Domain.ApplicationUser;
    DebugLib.Logger.WriteInfoLine("Saved user: " + user.UserName);
}
elseif (Instance.GetType().Name == "ApplicationOperation") {
    var op = Instance as Domain.ApplicationOperation;
    DebugLib.Logger.WriteInfoLine("Saved operation: " + op.Name);
}
Tip
You can programmatically raise an event using Mamba
Events.OnFormLoaded.Raise("MyForm");
Tip
Forms may define their own event handlers in the 'Event Listeners' tab. MAMBA_DOCUMENTATION_TODO: LINK
Indexes
Search indexes are customizable tools that allow users to efficiently search specific fields within domain models, offering features like real-time updates, partial matches, and integration into the application menu. Developers can create, manage, and rebuild these indexes, enabling tailored search experiences across different data sets within an application.
Click here to learn more about search indexes and a step-by-step guide on how to create and use them.
Caching

This section is used to set default settings for the caching mechanism that can be applied to External and Exposed APIs.
Cache Expiration Mode
zAppDev supports three cache expiration modes:
Never
Cache memory will never be erased as long as the application is running.
Sliding
Cached items will be kept in cache for the Timespan defined. Every time the item is requested from cache the expiration time will be reset.
Absolute
Cached items will be kept in cache for the Timespan defined no matter if they are requested or not.
Expiration Time Span
Sets a timespan in Days, Hours, Minutes, Secods and Milliseconds that is used to calculate the cache expiration as mentioned above.
Tip
Each API operation may override the Default Cache Settings and / or cache items for each User separately