Roles & Permissions
This Walkthrough Tutorial part will show how to create and allocate Roles & Permissions.
We assume that you already have the required knowledge on how to create an Application, design a Business Model, create new Forms etc. If not, please watch this tutorial and then come back.
Scope
In case we do not want all of our users to do the same actions, we use Roles & Permissions. For example, we want a simple employee (Role) only to view the products, the suppliers, the orders and also make some orders (Permissions), and on the other hand a manager, the director (Role), not only to be able to view all the above, but also to edit them. So, we distinguish the actions to Permissions, assign them to Roles and allocate these permissions to the forms and controller actions. At each form we select the permissions that can be done.
1. We create Permissions according to our needs
2. We create Roles
3. We assign the Permissions to Roles
4. We allocate the Permissions to our Forms & Controller Actions
Example
An employee can create an order, but only the director can make arrangements to this order (maybe remove an item).
So, our roles could be Employee and Director
And our permissions could be view and manage accordingly
Create Permissions
- From the Models Tree select Configuration ⇒ app
- Model app is displayed
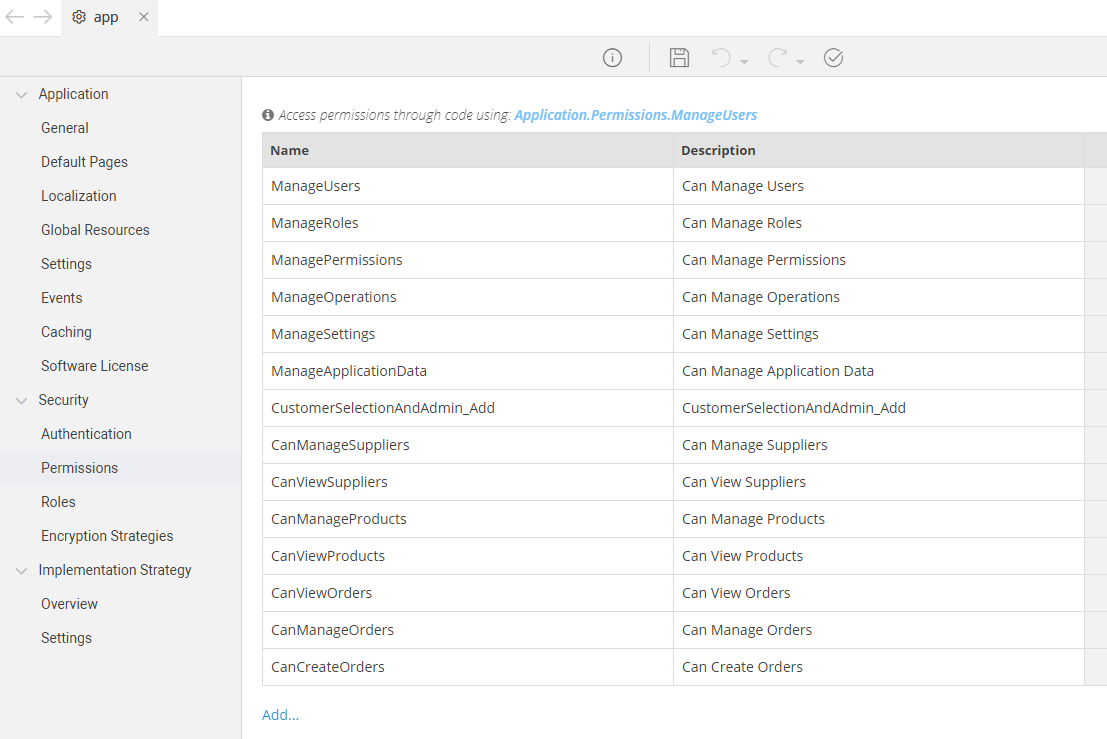
- From Configuration editor, select Security ⇒ Permissions
Information
You will notice some Permissions have already been set for you, concerning the predesigned classes.
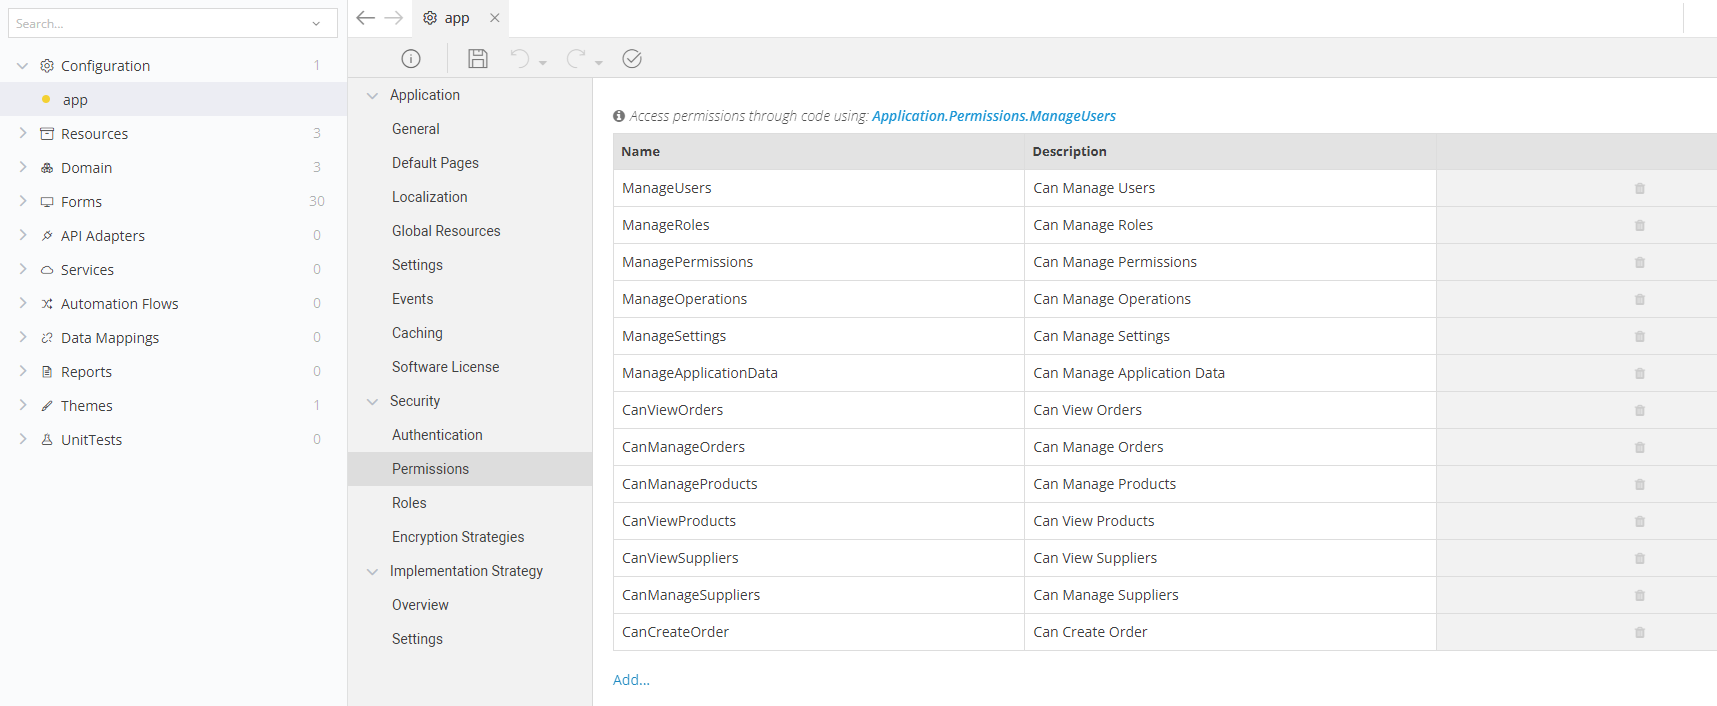
- Click Add (placed below permissions table)
- Click inside the newly inserted row and type CanManageSuppliers for Name
- Type the same for Description, but leave blanks between the words
Tip
We name the permissions as we want, but it is better to use names/words that indicate the actions and are easy to be comprehended by others
Todo
Repeat for all the needed permissions which are:
- Can View Suppliers
- Can View Products
- Can Manage Products
- Can View Orders
- Can Manage Orders
- Can Create Orders
Information
Let's assume/say that those who have permission:
- CanView will be able only to view the forms but they won't be able to edit
- CanManage will be able to view and edit the forms
- CanCreate will be able only to create an order
Manage Roles
-
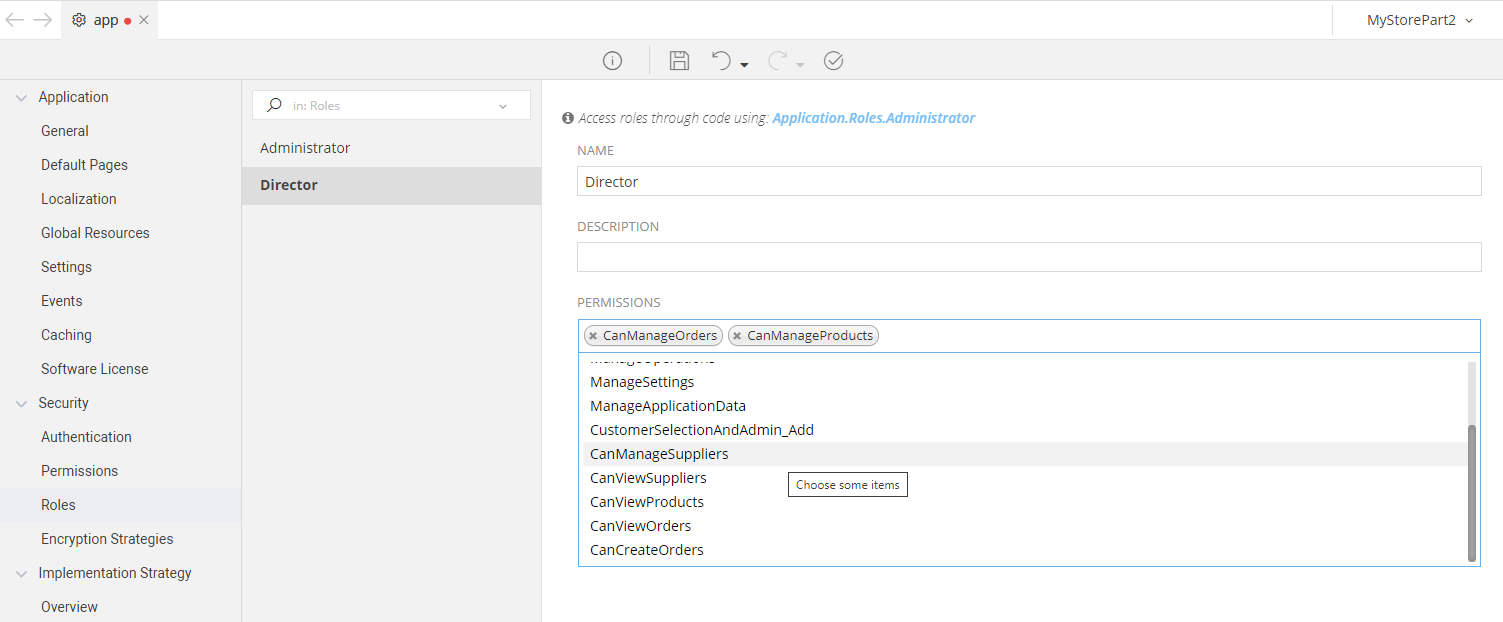
From Configuration editor, select Security ⇒ Roles
-
There is already a Role named Administrator
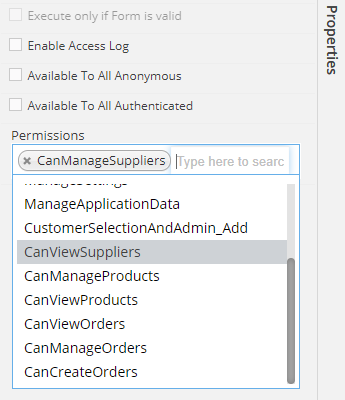
- Click inside the Permissions panel
- A dropdown with the newly inserted permissions is displayed
- Select the permissions one after another
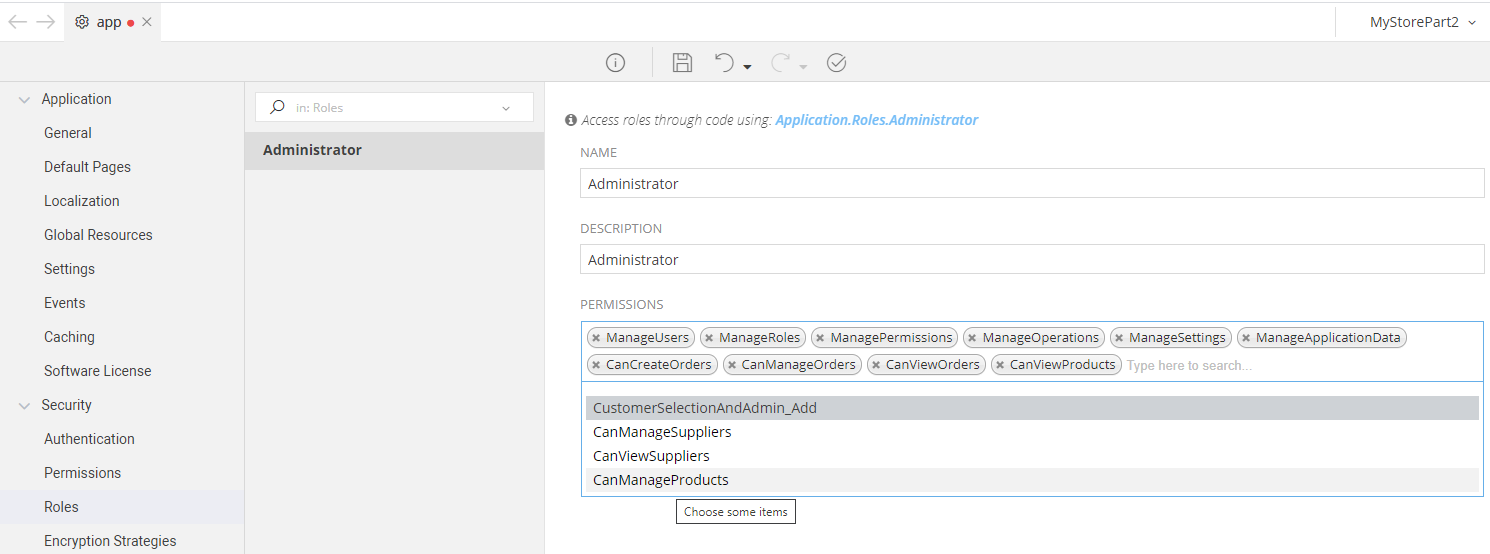
- Hover the plus (+) placed at the bottom
- Click New Role to insert a new one
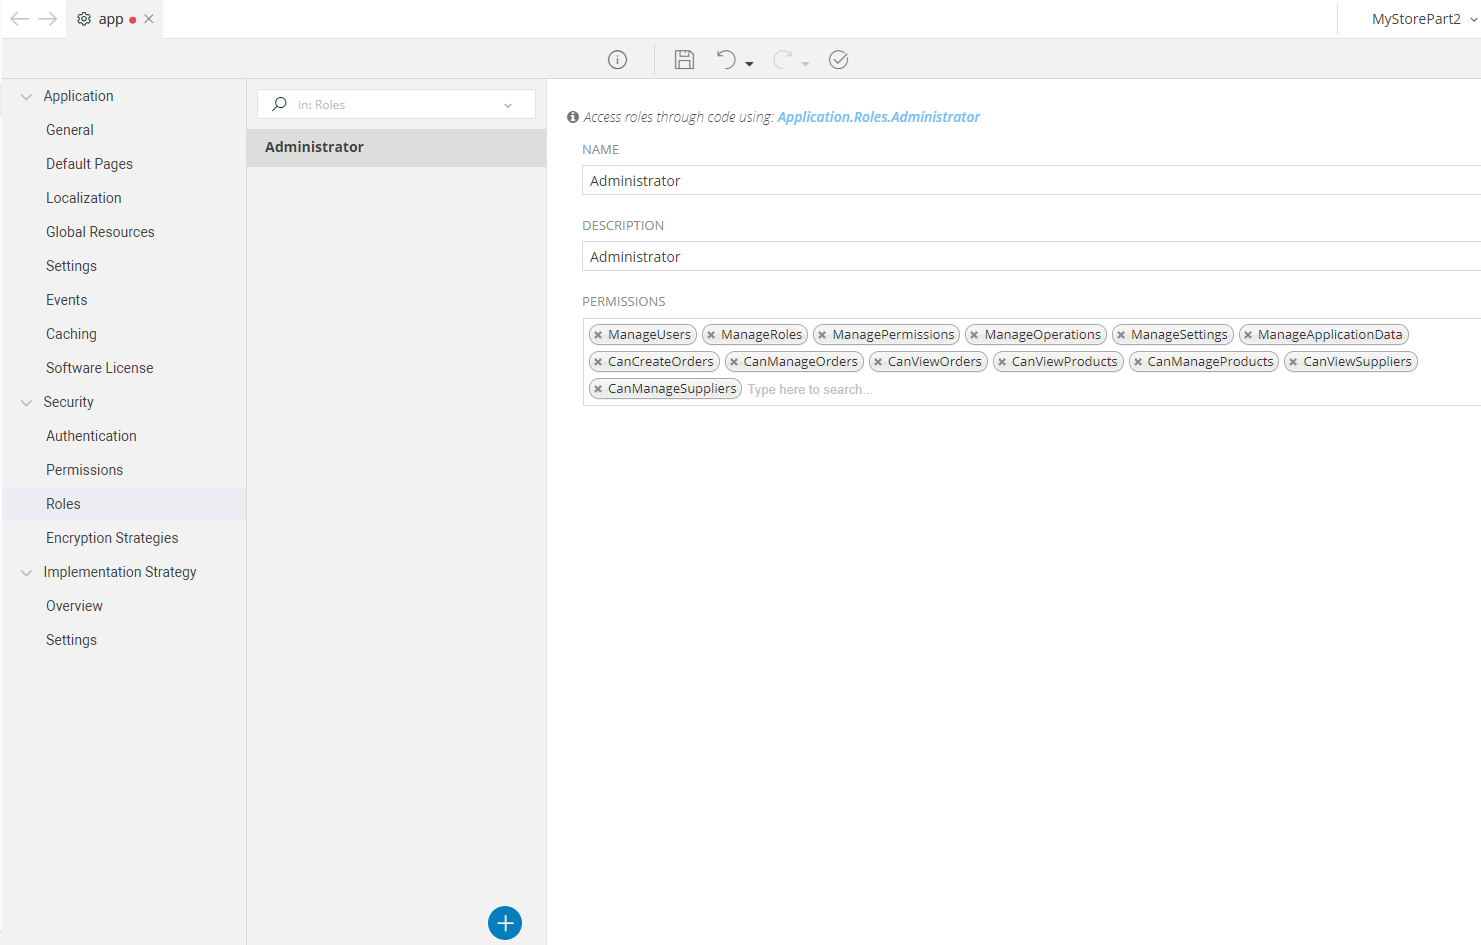
- Name it Director
- Director will be able to edit, so select the wanted permissions
Todo
- Insert Role Employee
- Employee will be able only to view all the forms and create an order

Note
If there is a problem with an order, only Director will be able to fix it - and of course Administrator
Reminder
Remember to Save your model.
Allocate Permissions
Lists
The next step is to select the permissions for each form. Let's start with the lists.
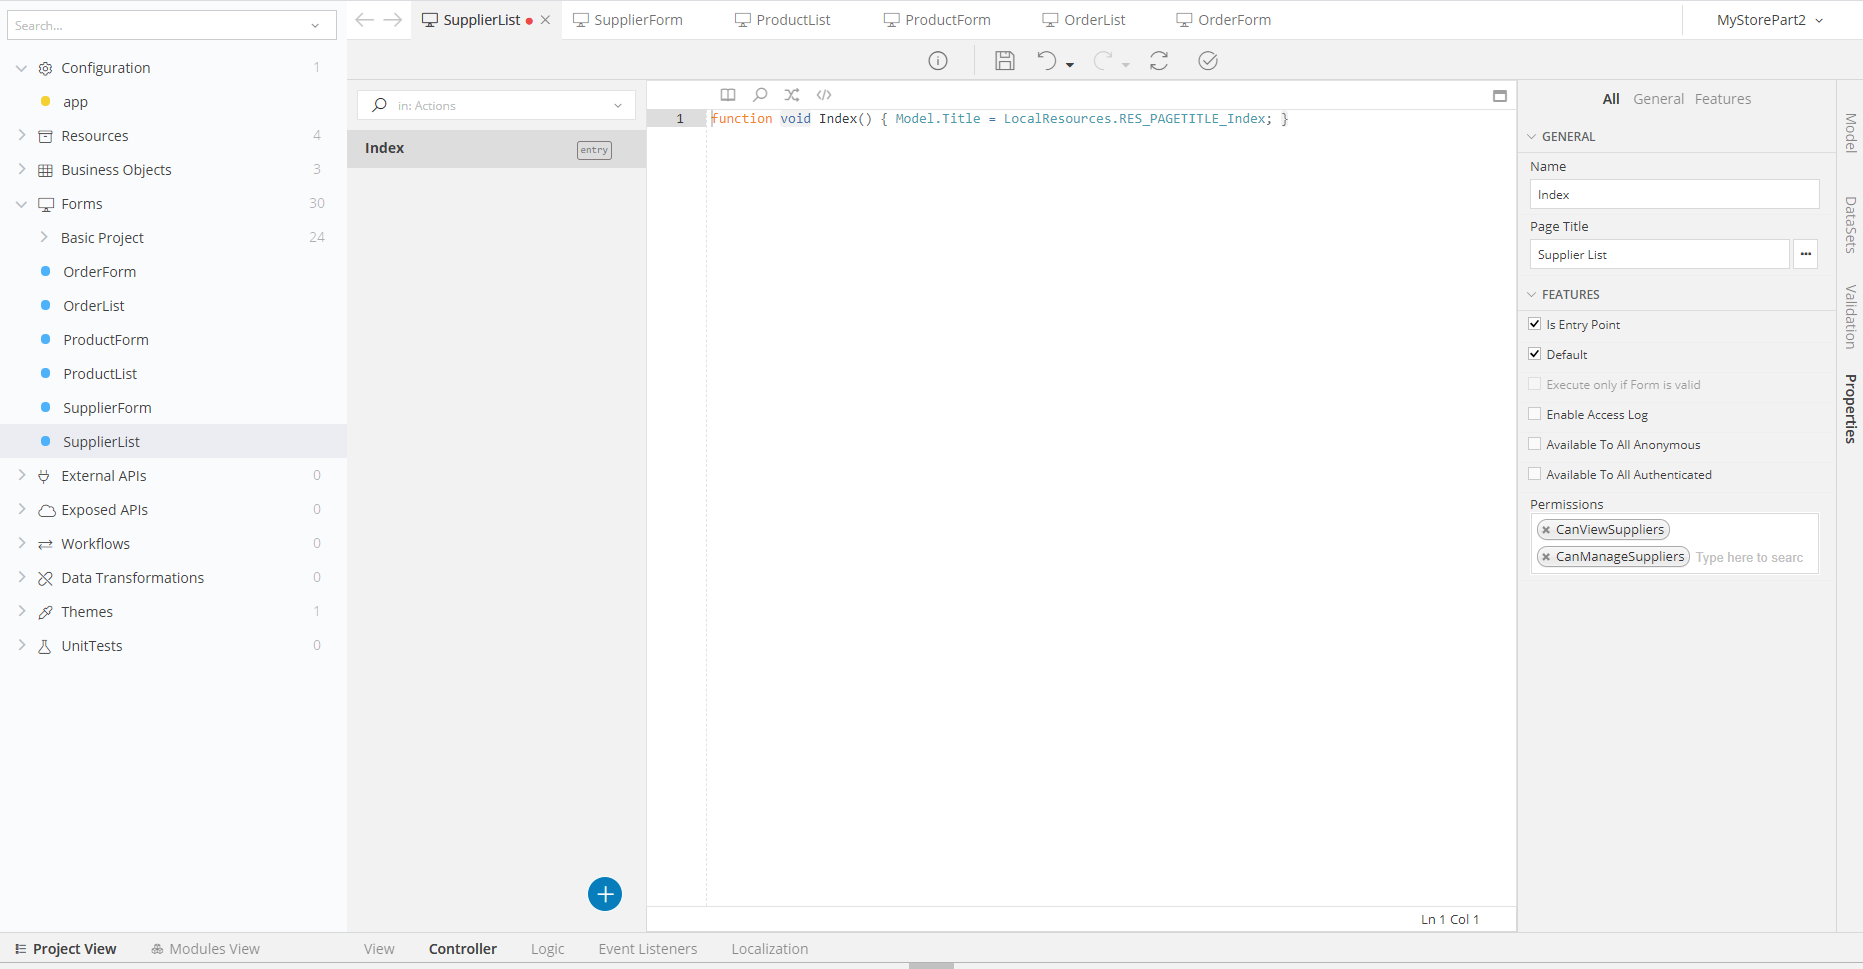
- Open the SupplierList
- Go to Controller
- Uncheck Available To All Authenticated
- Permissions area is displayed
- Click inside
- Select from the dropdown CanViewSuppliers and CanManageSuppliers
Information
This means that every Role who has one of these permissions, will be able to view this Form.
Todo
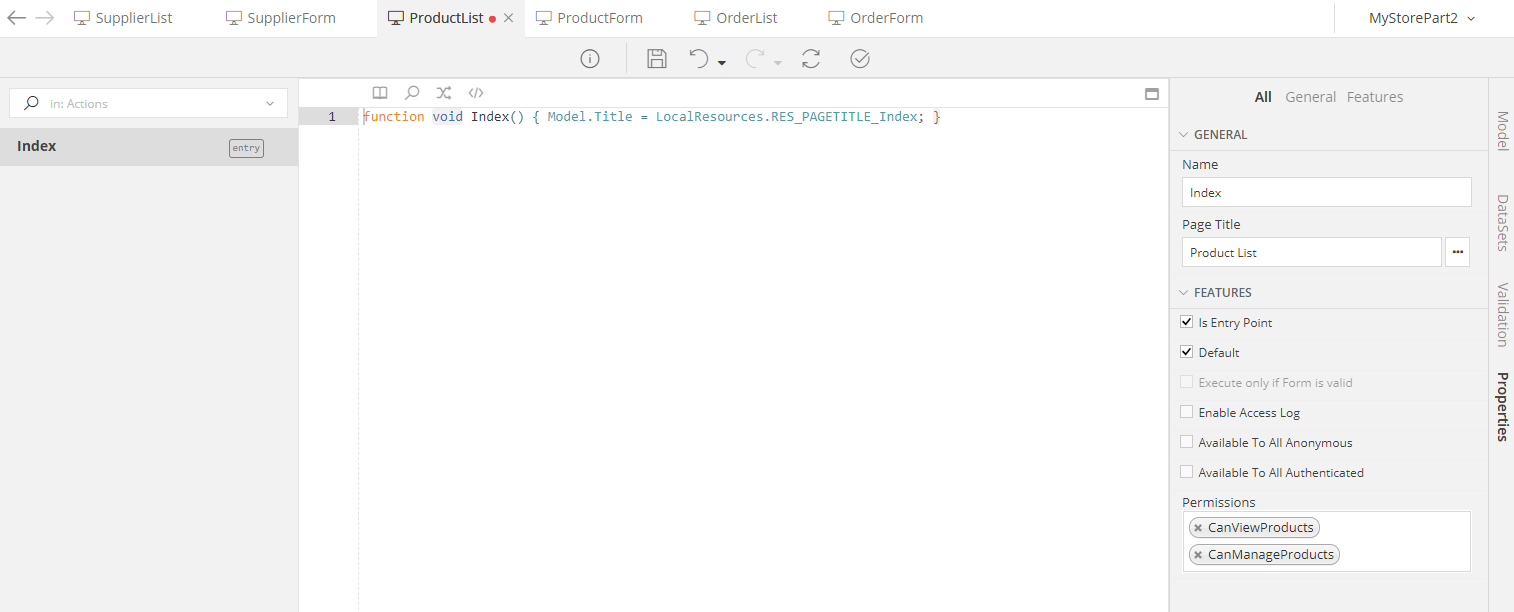
Do the same for the other two lists.
At ProductList select the Permissions:
- Can View Products
- Can Manage Products
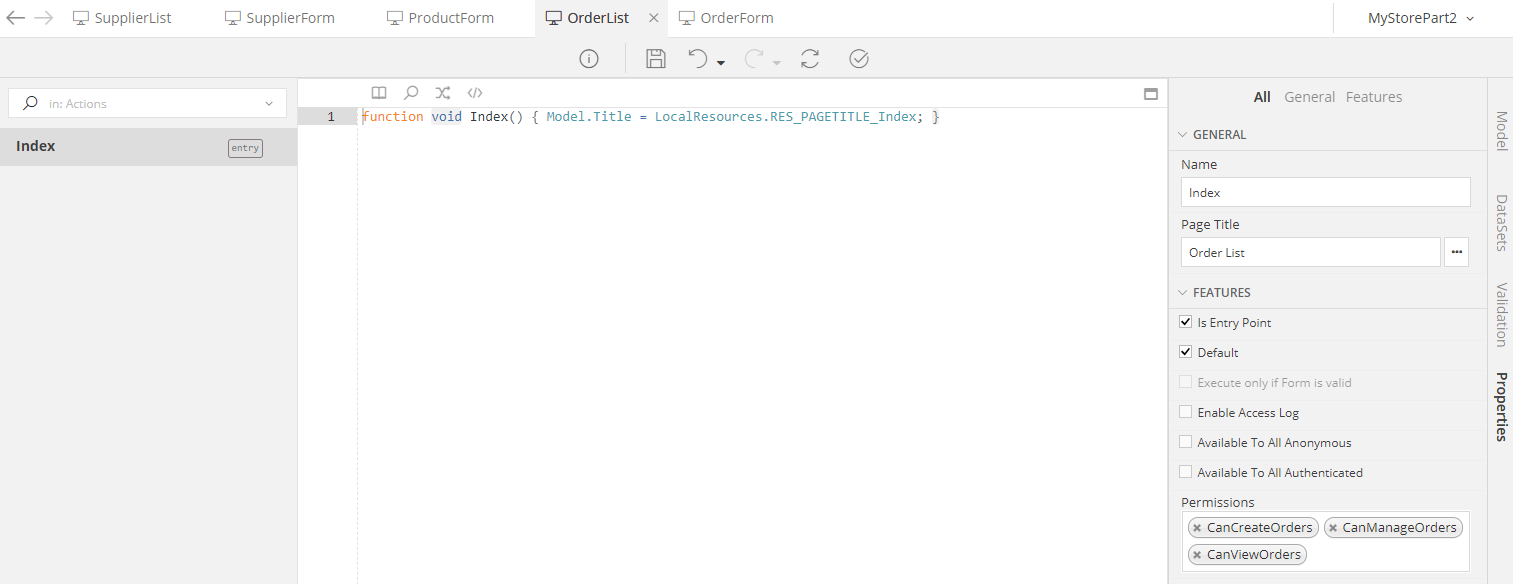
At OrderList select the Permissions:
- Can View Ordes
- Can Manage Orders
- Can Create Orders
Details Forms
Now, it is time to insert the permissions to the DetailsForms.
- Open SupplierForm
- Go to Controller
- At the Add Controller Action:
- Uncheck Available To All Authenticated
- Select permission CanManageSuppliers
- At the Controller Action Edit:
- Uncheck Available To All Authenticated
- Select permissions CanManageSuppliers and CanViewSuppliers
- At the Controller Action Save:
- Uncheck Available To All Authenticated
- Select CanManageSuppliers, since only those who have permission to manage a supplier can save the changes. At other roles, button save will either be disabled or hidden, based on what we will select at the Event On Click of the control [For more information, see notes below]
- At the Controller Action Delete:
- Select CanManageSuppliers, since only those who have permission to manage a supplier can delete a supplier
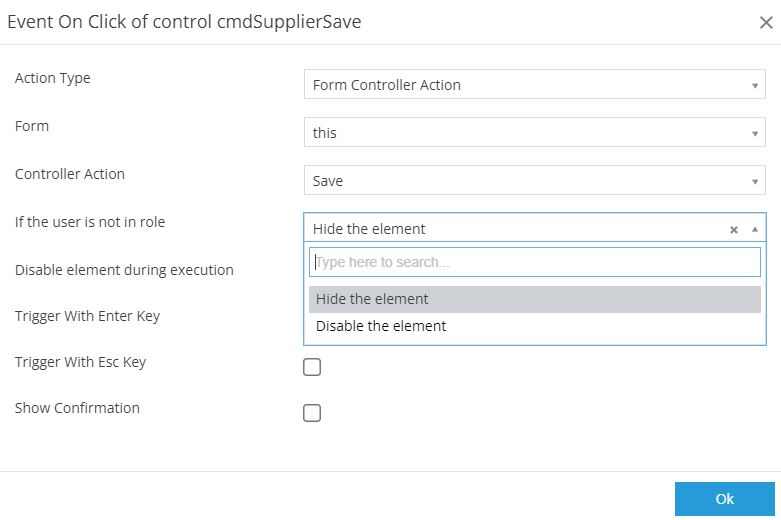
Notes
How to select if the control will be disabled or hidden:
- Go to View of the Form
- Select the button Save
- Form Properties, go at EVENTS
- Select the three dots besides On Click
- A modal is displayed
- At If the user is not in role select the wanted element from the dropdown. By default the selected is hide
Todo
Do the same for the other two Details Forms, for every controller action.
ProductForm:
- For Controller Actions Add, Save and Delete select permission CanManageProducts
- For Controller Action Edit select permissions CanManageProducts and CanViewProducts
OrderForm:
- For Controller Action: Add select permissions CanCreateOrders and CanManageOrders
- For Controller Actions: Save and Delete select permission CanManageOrders
- For Controller Action Edit select permissions CanManageOrders and CanViewOrders
Save, Validate, Build and Run your application to see the results.
Tip
To check the permissions, create different accounts.
You will notice that:
- an administrator will be able to view and edit everything
- a director will be able to view and edit the 6 forms (Orders, Products, Suppliers details forms and lists)
- an employee will view the 6 above forms, but will not see buttons such as Add, Save and Delete (Or they will be disabled if you select otherwise).
Changes from the Application
From the application you can manage the Roles using the path:
- Username ie Admin ⇒ Administration ⇒ Manage Roles
- Username ie Admin ⇒ Administration ⇒ Manage Roles
From the application you can manage the Permissions using the path:
- Username ie Admin ⇒ Administration ⇒ Permissions
- Username ie Admin ⇒ Administration ⇒ Permissions
Notes
Changes can be done by those who have a Role that consist of the required Permissions, such as: - Manage Users - Manage Roles - Manage Permissions