Roles
Introduction
The Roles configuration section allows you to define all the Roles available for your Application. These Roles can be then used in any part of your Application, either in a standalone mode or extending the Permissions of a user, to add a Role-Based Access Control.
For example, you can use your defined roles
- inside your Form Models to add Role-Based Access Controls to whole pages, specific controller actions and/or operations and logic
- in Business Objects Operations, to define how they will be fetched or saved based on the specified Access Controls
- and any place else you need to restrict the access to your data and operations
Adding Roles
To add a new Role, click on the You can add Controller Actions by clicking on the  button. Next,
- Give this Role a Unique name
- Add a Description so that the other members of your Team understand more about this Role
- Assign one or more Permissions under this Role, so that everything that is allowed by the Permission, be allowed to the Role as well
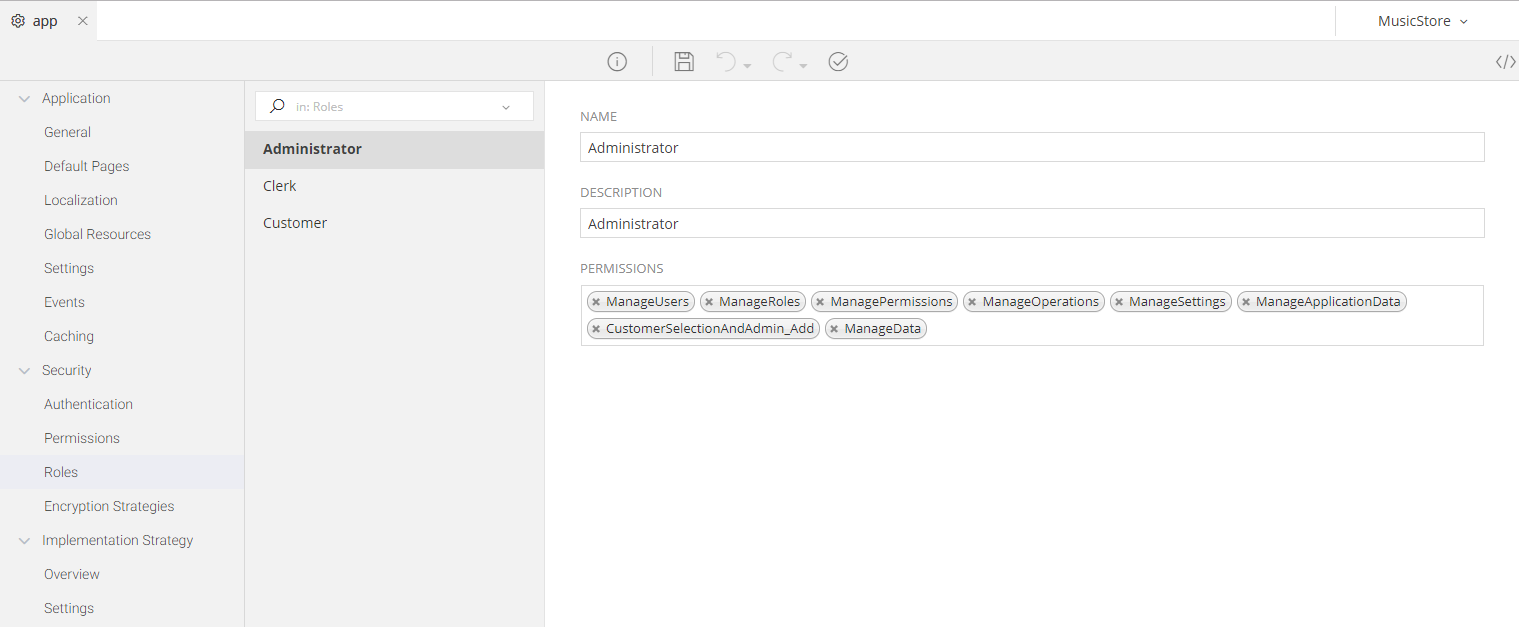
In the example presented above, three roles have been added: Administrator, Clerk and Customer.
The Administrator is then assigned numerous Managerial Permissions, allowing him/her to execute operations and access data restricted by the latter.
Info
You can access a Role using mamba code with the following syntax: Application.Roles.Role_Name
Usage
As soon as you have defined a set of Roles, you can use them in any Model you like. Unlike the Permissions that can be selected as Authorization Restrictions of specific Controller Actions in a Form Model (e.g. see here TODO), the Roles of a User are available only via Mamba.
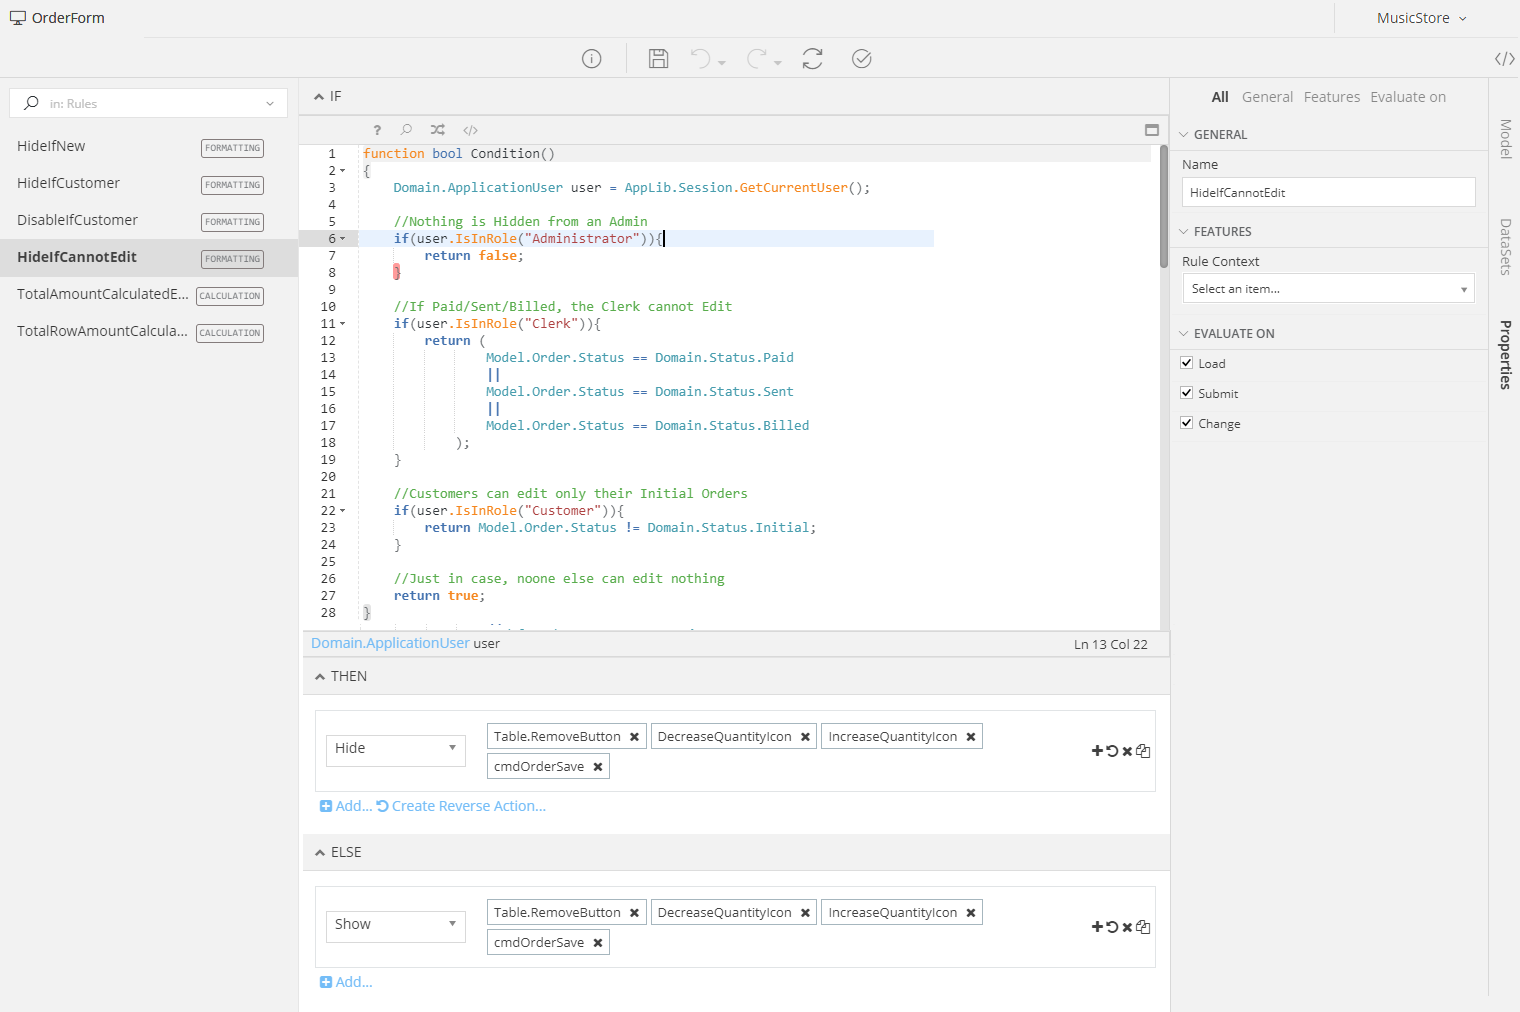
To check whether a User has a specific role or not, using Mamba, you can access his/her object using the Domain.ApplicationUser class like this:
    Domain.ApplicationUser user;
    user.IsInRole(Application.Roles.Name_Of_The_Role);