View
Introduction
Thew View of any Form Model is where the visible magic actually happens. It is the place where the visual components of a form are placed, styled, configured, setup, linked to Controller Actions and more.
The View Tab consists of two basic areas:
- The View Editor: the container of anything that the end user will be able to see and act on
- The Toolbox: the list of all available components that you can use and setup to be available in your Form
Toolbox
This section will shed a bit of light on the available components that can be used in any Form Model. For extensive information, please read the UI → Controls Section.
| Controls Group | Description | More Info | - |
|---|---|---|---|
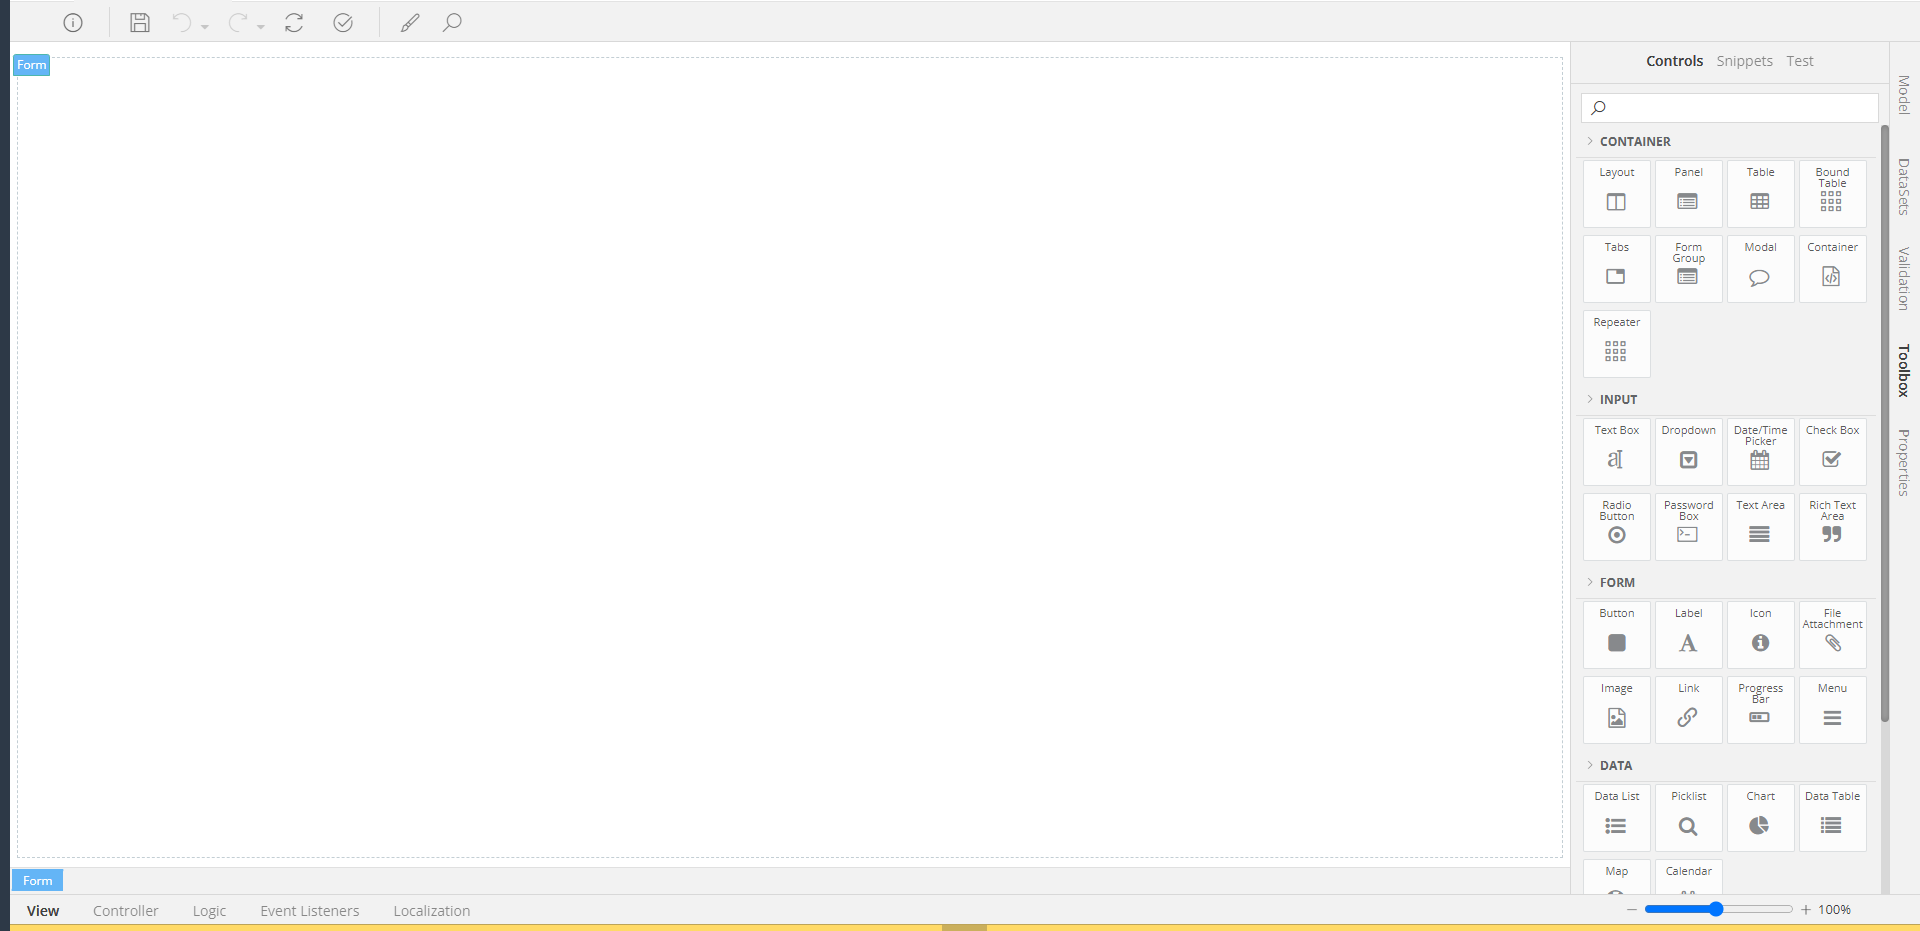
| Container | These components contain containers for other components. For example, a Layout is nothing but a responsive div. A Modal is a floating window that may contain components of even whole pages. | Click here | 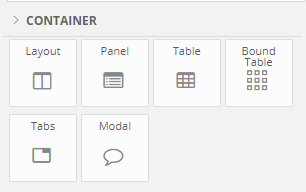 |
| Input | The Input section contains all those components that can be used to alter the Data of your form (i.e. Textboxes, TextAreas, Date and Time Pickers etc. | Click here | 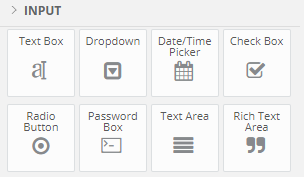 |
| Form | Contains form components such as Labels, Buttons, Images, Icons and more | Click here |  |
| Data | The Data section contains those components that can hold and present data that are much more complex than a simple string or date. For example, you will find controls that can be used to display collections of data (e.g. Data Table), present statistical information (e.g. Chart), allow you to find a needle in a heystack of data (e.g. Picklist) and more |
Click here | 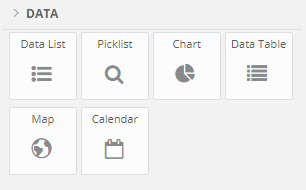 |
| Other | Anything that does not hold Data but is really helpful to allow you to reach a tailor-made View is stored in the Other tab. Whenever you need to style your View with some lines or spaces or need more powerful containers that can centralize your Views or extend zAppDev's capabilities to the maximum, you can select and use some of these components | Click here | 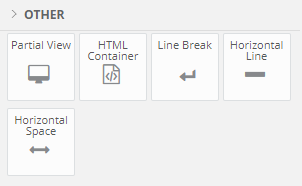 |
| Templates | The Templates are pre-defined forms that you can just drag, drop, bind to your Data and then use without the need to design anything from scratch | - |  |
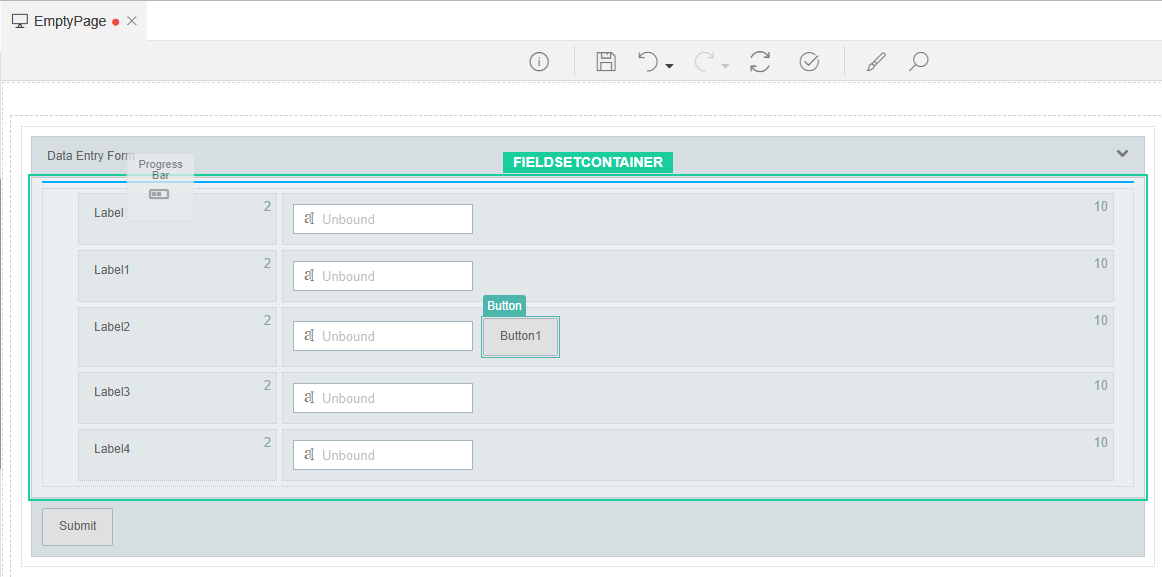
To use any of the Components available in the Toolbox, simple drag one and drop it onto the View Editor. The View Editor will help you with the positioning of your component by showing you colored borders so that:
- A Green box shows you where the component will be enclosed (which will be its parent, or container if you will)
- A Blue line (vertical or horizontal) shows where will the component be positioned in comparison to another component (above, below, left or right)
For example, as seen in the following image, a Button will be added inside (green box) a Layout Cell, just at the right side (blue vertical line) of the TextBox

In the next example, a Progress Bar is being added inside a Fieldset Container, just above a Layout.
Form Types
Form Types
There are three different type of Form Models you can create:
| Form Type | Description | Remarks |
|---|---|---|
| Master | A Master Page can help you create a consistent look and feel for your pages (either all, or a group of them). Think of it as a Template for your Normal Pages | At least one Master Page must be present in your Application |
| Normal | A Normal Page is the Page displaying your actual content. It can use the Controller Actions and Model Properties or its Master Page, while providing data, operations and controls to the User regarding more specific tasks | A Normal Page must have a Master Page assigned to it |
| Partial | A Partial Page is simply a container of Form Operations (components, actions, logic, datasets) that can be embedded in any other type of Page. Think of it as a "centralized", reusable container providing all the functionality a Normal Page can provide, but working only inside other Pages | A Partial Page cannot have any Master Pages assigned to it |
Definition
To define the Type of your created Form Model:
- Select the Form component by
- either clicking on the largest, farthest space of the View Editor
- or selecting the "Form" breadcrumb of the View Editor navigation panel
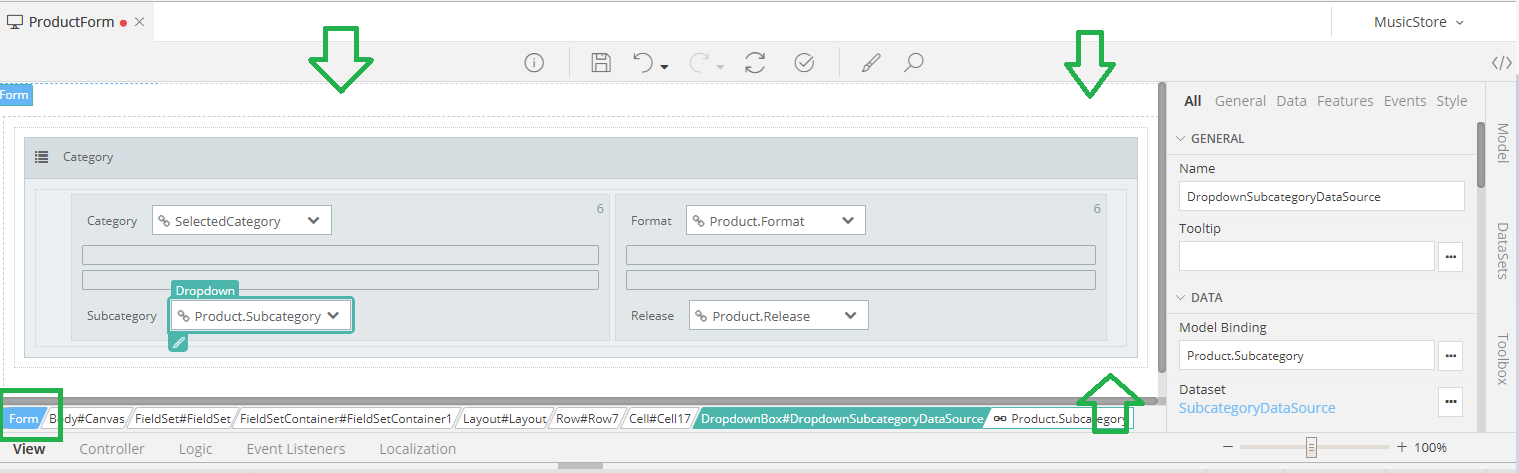
After selecting the Form container, you will be able to preview your Form's Properties under the Properties Tab at the right-hand side of the Editor
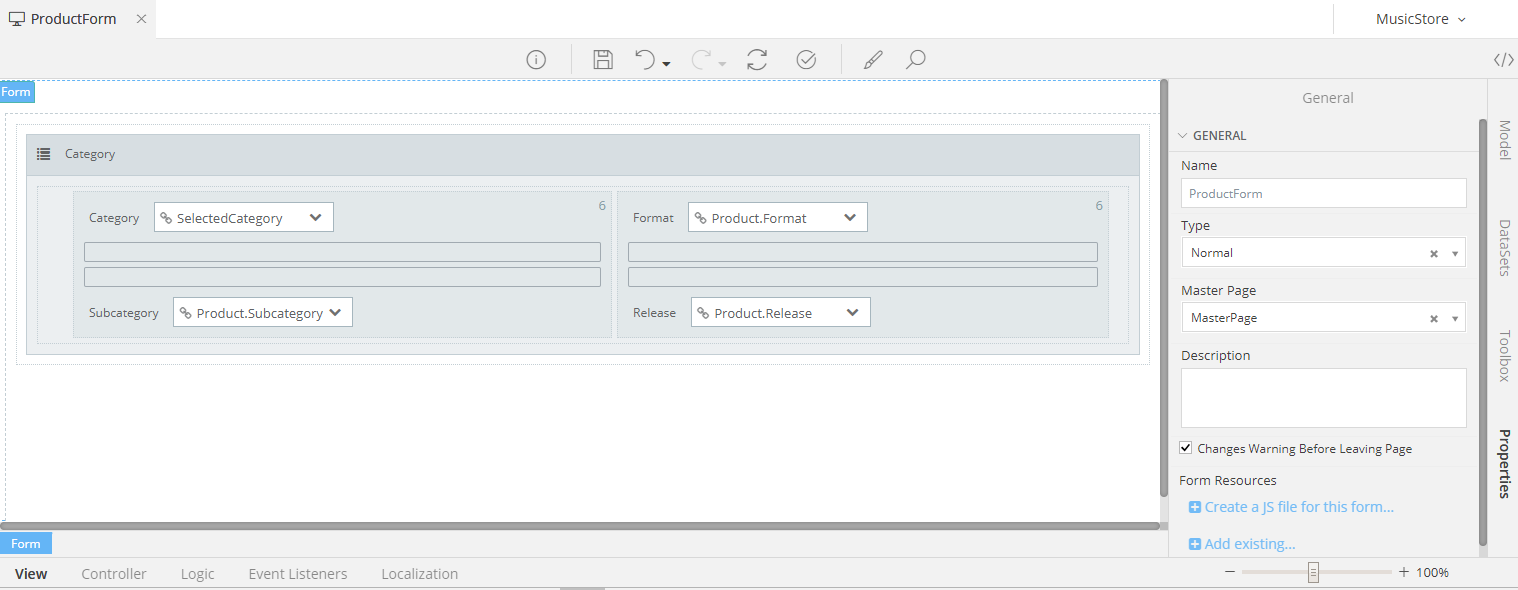
You can use the Type DropDown to change the Type of your opened Form Model.
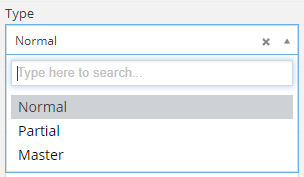
In the case of a Normal Page, you can select the Master Page that this Page should use as its Template
JavaScript
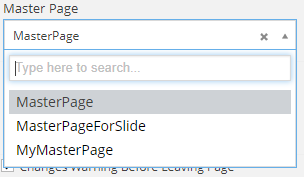
Even though zAppDev gives almost endless functionalities and options to take your Form Model to the next level, it also provides means to extend the embedded functionality of a Form with external or custom-made JavaScripts. To assign one or more JavaScript files to your Form Model, first you will need to select the Form component (as shown in the previous section).
In the Properties Grid, you will see two options:
- Create a JS file for this form...
- Add existing...
JS Script for Form
To create one script for the particular Form you are editing (regardless of its type), add on the Create a JS file for this form... option. Immediately, a JavaScript file will be created, with a predefined Template, and connected to your Form.
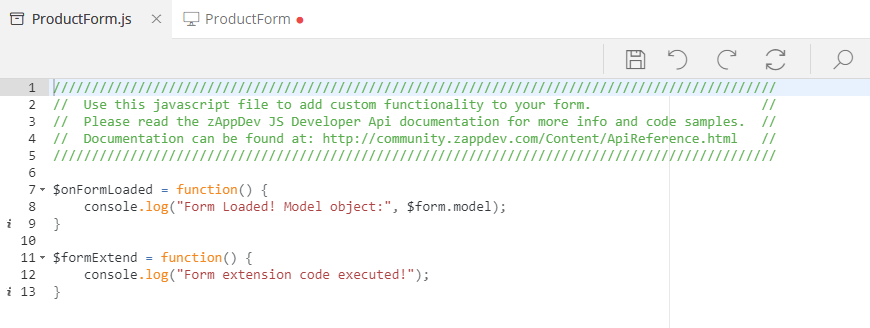
You can use the new created functions to add your own JavaScript code to be executed either
-
On Form Loaded ( as soon as your Form is loaded. For more info, see this )
-
Anytime (
formExtend(). For more info, see this )
Hint
The JavaScript file created for your Form will be saved under the Resources of your Application. Any other form can reuse it by selecting it from the Add existing... option
JS Scripts from Resources
To add multiple JavaScript files to a Form (either yours or from external libraries etc.) click on the Add existing... option and select the .js file you wish to use in your Form.
Attention
To select a JavaScript file, you must have it in your Application as a Resource. If you don't, just add it.

Remarks
You can get a much deeper understanding of a Form's JavaScript, as well as the functionality that zAppDev exposes for you (to enable you to access any part of your Application via JavaScript), here.