Logic
Introduction
You can add some logic to your application by creating some Conditional Formattings, Data Validations or Calculated Expressions.
Conditional Formattings are used to perform some actions regarding the view of your form. You can hide/show elements, change their style, disable them etc.
Data Validations are used to validate a specific condition you define and inform the user accordingly.
Calculated Expressions help you calculate something on the background and display it very easily on your form.
Conditional Formattings
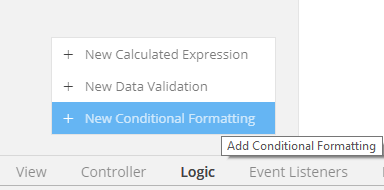
To add a new Conditional Formatting, hover over the plus sign on the bottom left and select New Conditional Formatting.
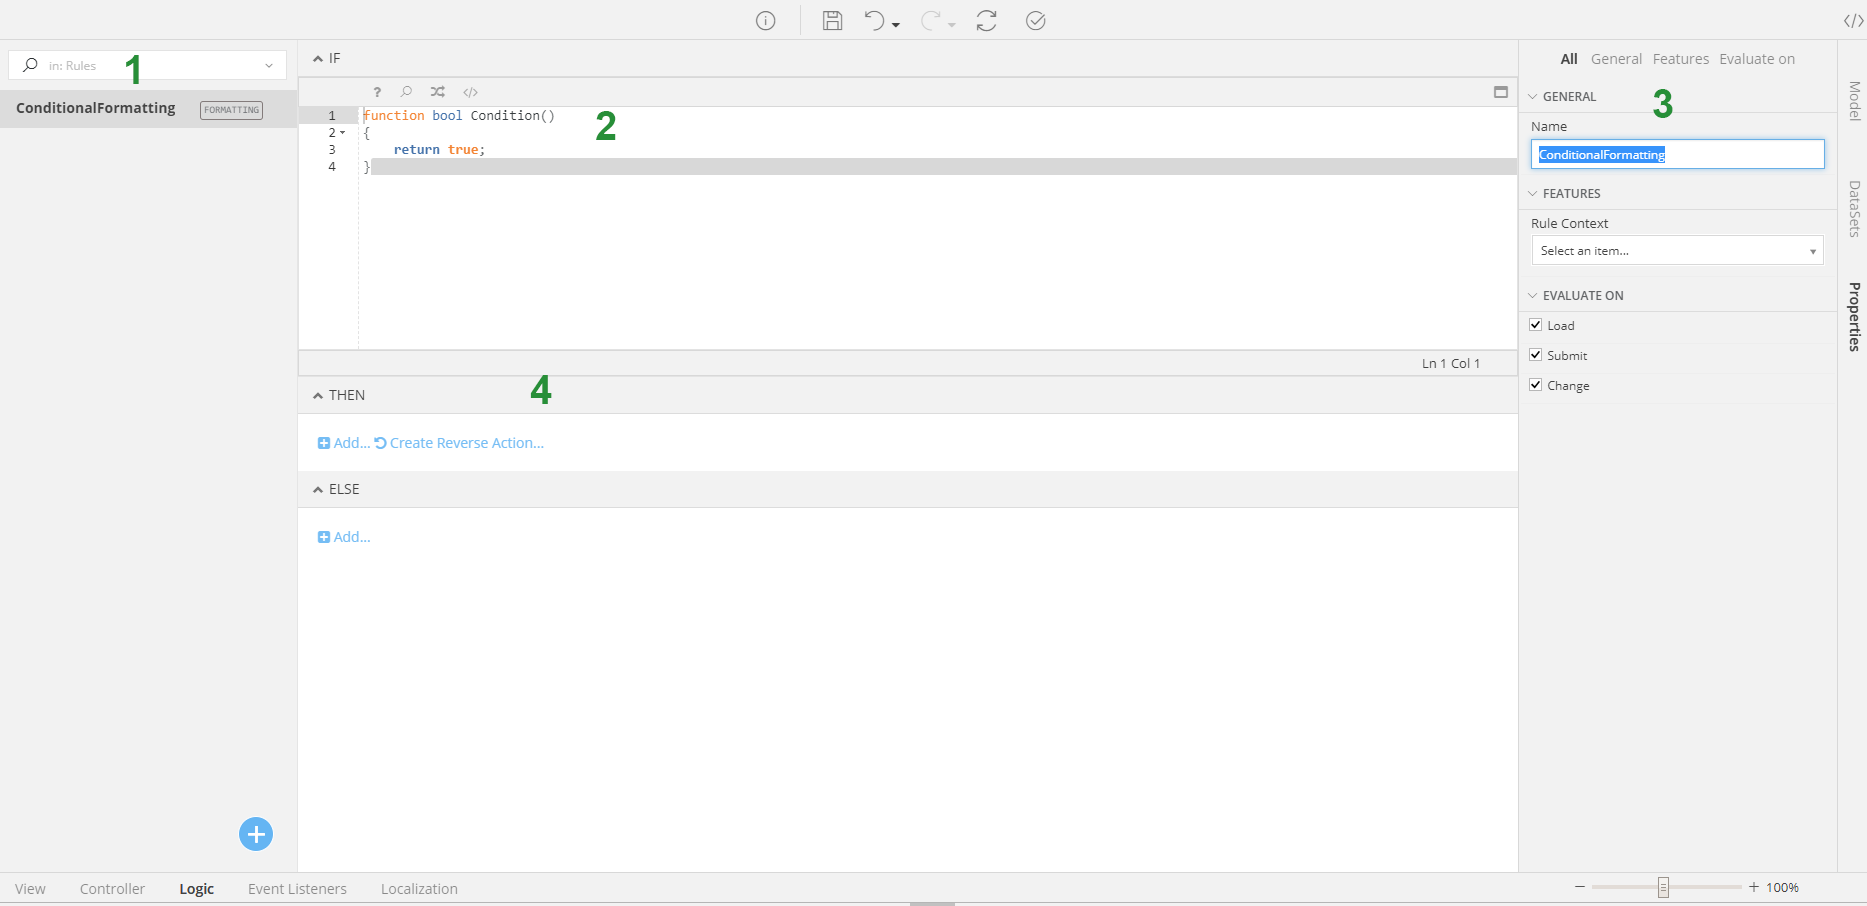
- In this section you can see all the logic rules you add to your form. Here, you have one Formatting named ConditionalFormatting.
-
This is where you add the condition under which your conditional formatting will be applied. Notice that the result should be a boolean.
-
Here you can change the name of your conditional formatting and add its rule context, if you want it to be executed inside a Grid for example.
Moreover, you can choose its Evaluation Events:
- Load: the rule will be executed when Form loads
- Submit: the rule will be executed when you save your Model
- Change: the rule will be executed each time you make a change in your form
-
Finally, this is where you define the actions of the Conditional you are creating. This has two sections, a Then section and an Else section.
On the first one, you add the actions you want to be executed when the condition you stated on step 2 returns true. On the second one, you state the one you want to be executed when the condition returns false.
To Add a new Action, click on Add.
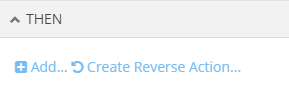
Then an action will be created for you to choose its type
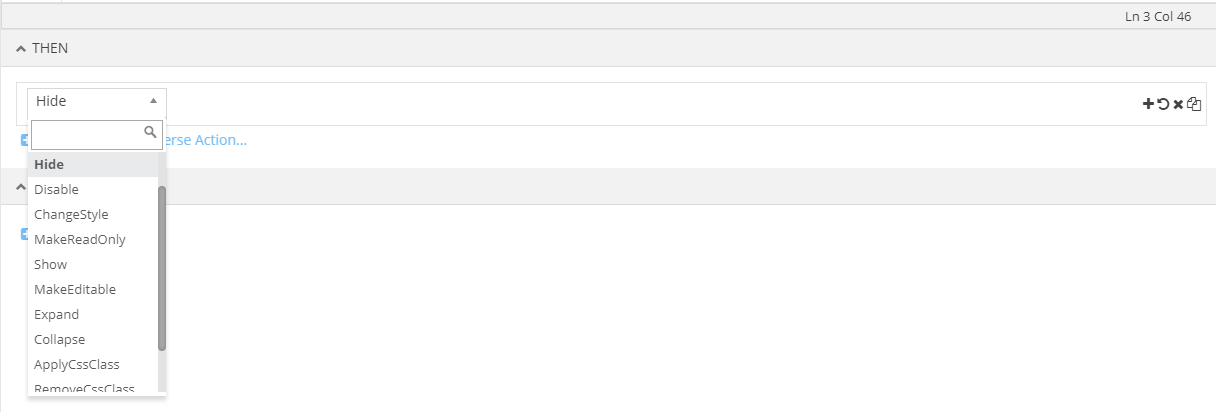
Now, you have to choose the controls you want to apply this rule to. Press the + sign on the right side of the action you just added and a modal will pop-up, letting you choose some controls from your form.
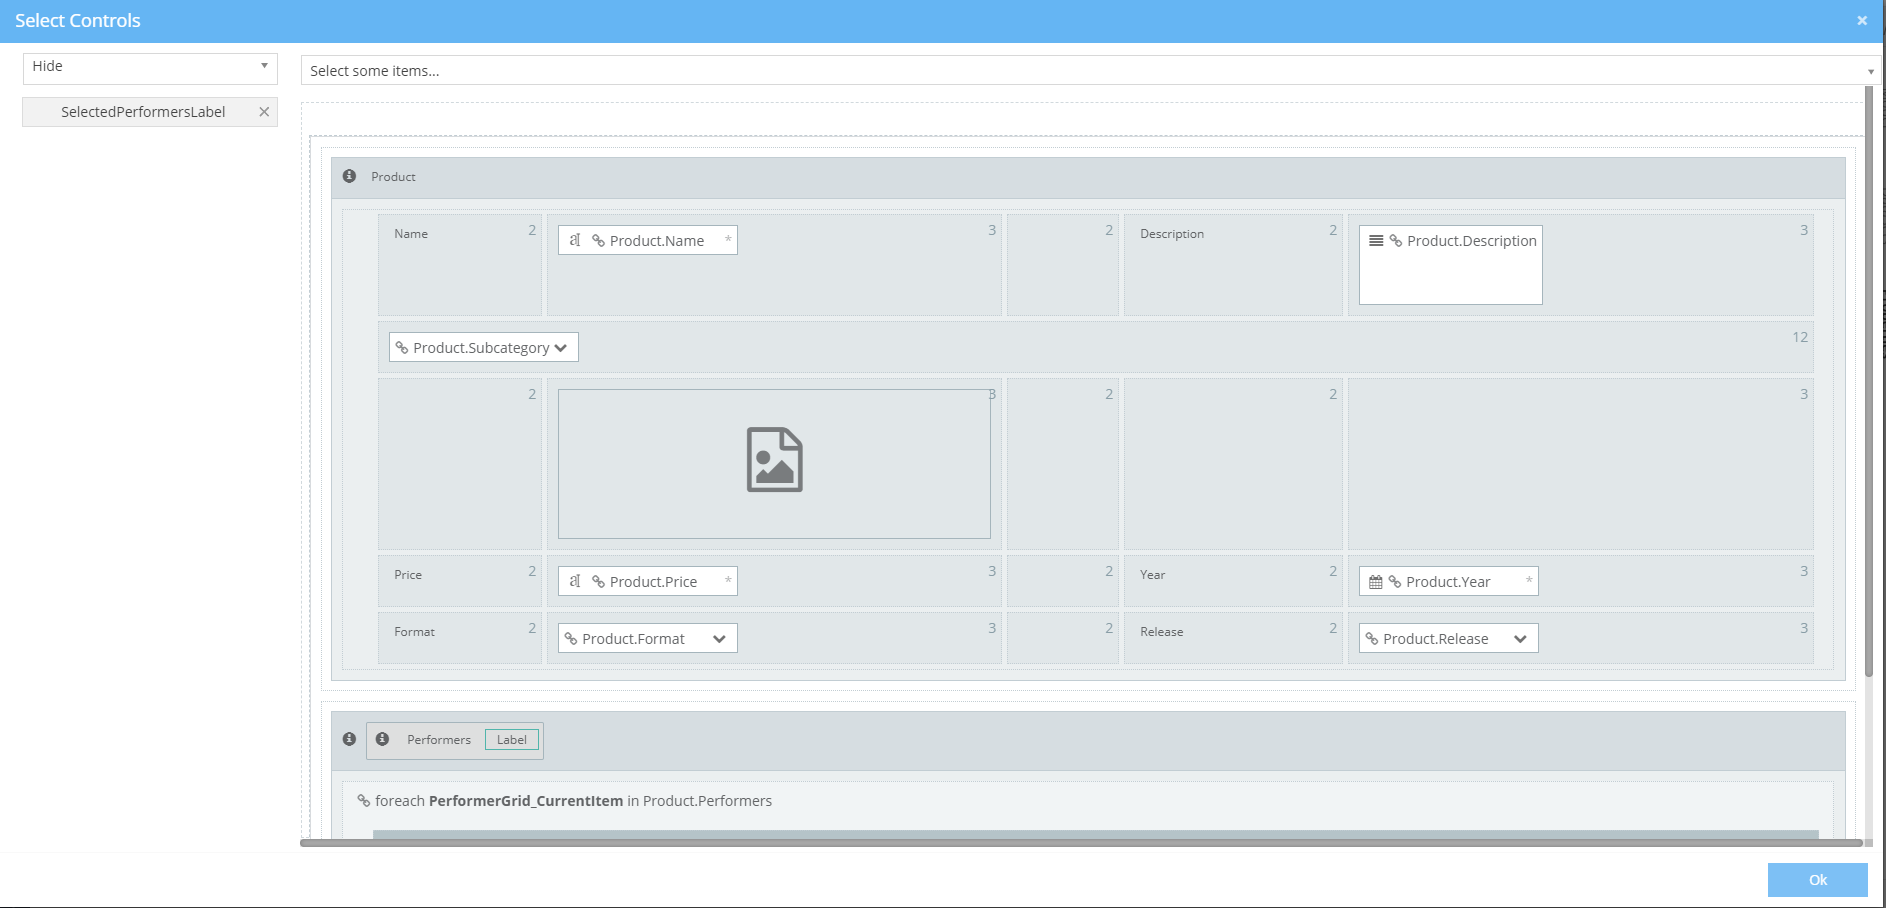
When you are done, press OK.
Example
You can perform a Hide action, if the length of a View Model Collection is equal to 0.
function bool Condition()
{
    return Model.Product.Performers.Length == 0;
}

and if it's not equal to 0, then you will have the reverse action, Show

Data Validations
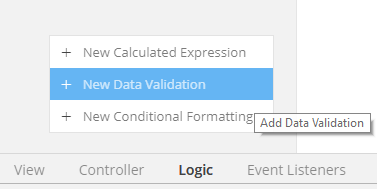
To add a new Data Validation, hover over the plus sign on the bottom left and select New Data validation.
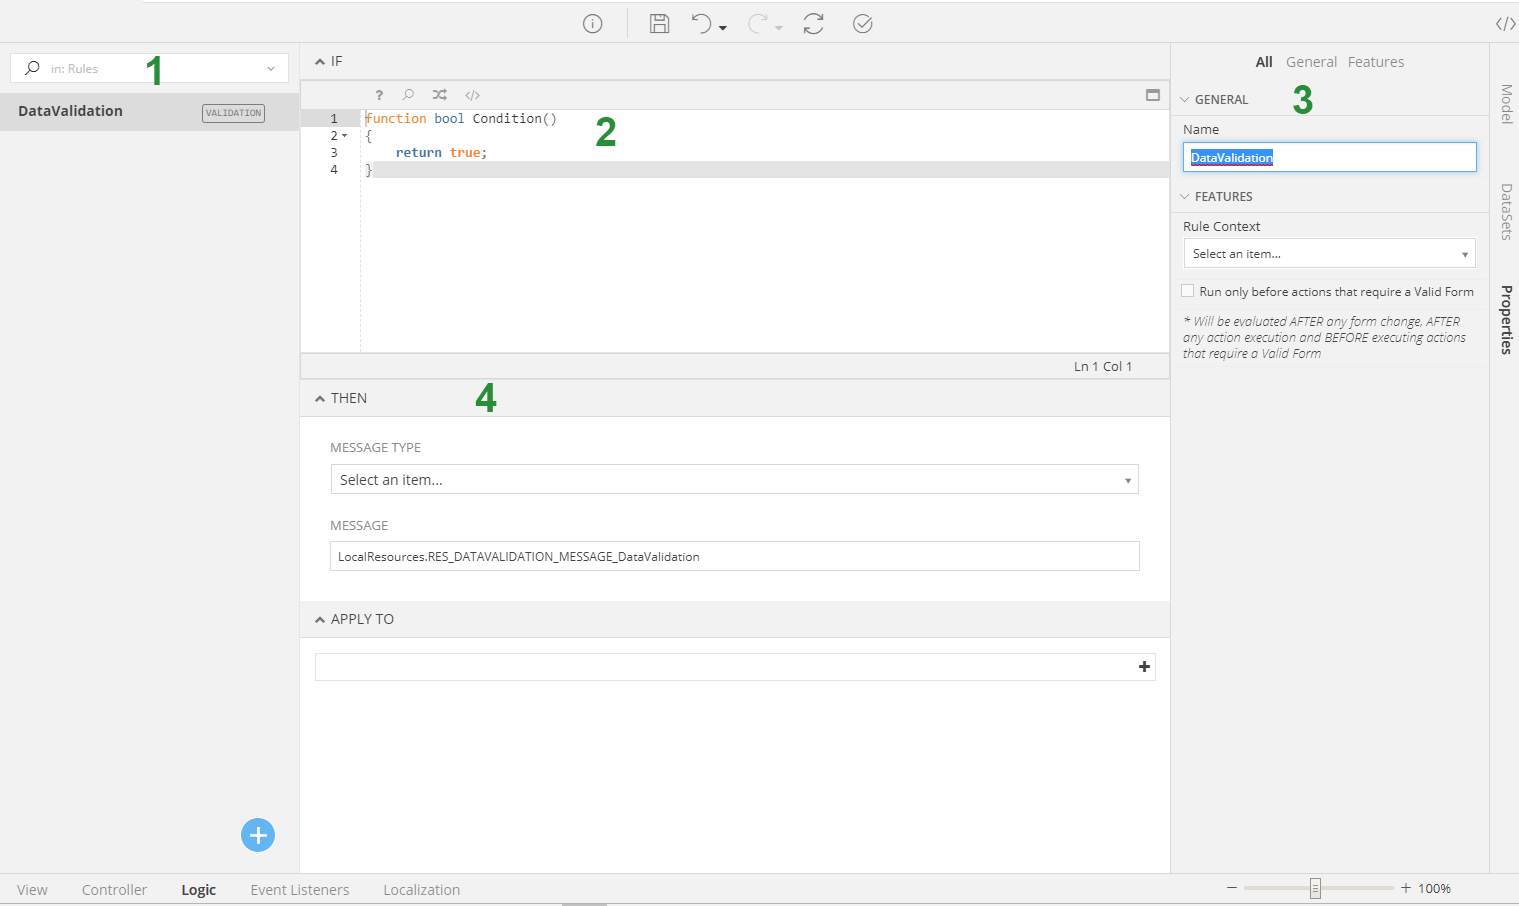
- In this section you can see all the logic rules you add to your form. Here, you have one Validation named DataValidation.
- Here you add the condition under which your data validation will be applied. Notice that the result should be a boolean.
- This is where you can change the name of your data validation, add its rule context if you want to be executed inside a Grid for example, and finally select when you want it to be executed.
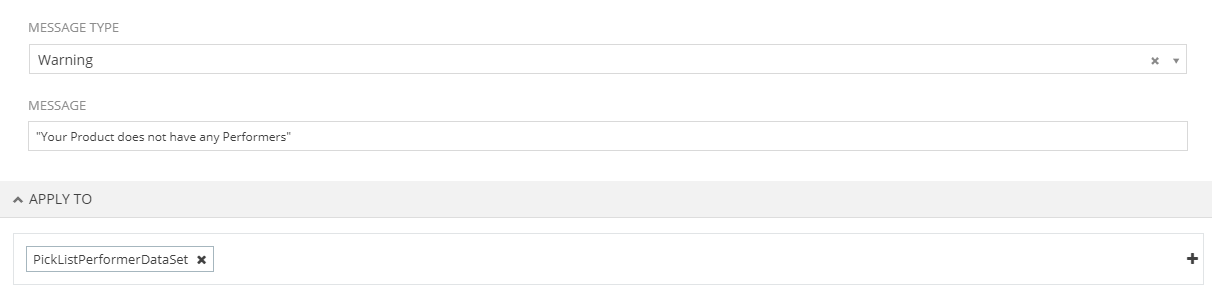
- Finally, here you select the type of the message you want to be displayed (Information, Warning, Error), you can write the message you want and the controls it will be applied to.
Example
You can show a warning message in case no performers are selected, meaning that the lenght of Performers will be zero.
First, you define that in Data Validation's function:
function bool Condition()
{
    return Model.Product.Performers.Length == 0;
}
then, you define the message to be displayed and you select the control it will be applied to.
In this case, Performers are selected from a picklist.
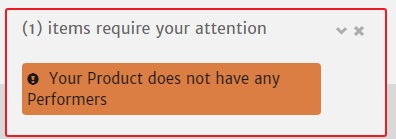
When no performer is selected, the message will be displayed upon saving the form:
Calculated Expressions
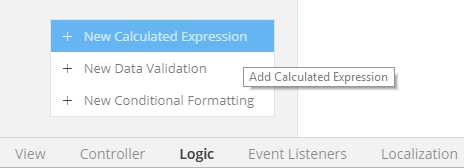
To add a new Calculated Expression, hover over the plus sign on the bottom left and select New Calculated Expression.
After clicking that, a new Calculated Expression will be added to your form's Logic and it will look like this:

- In this section you can see all the logic rules you add to your form. Here, you have one Calculation named CalculatedExpression.
- This is where you add the function which your calculated expression will execute. The returned result will be applied to the related property.
-
Here you can change the name of your calculated expression, add its rule context if you want to be executed inside a Grid and select when you want this validation to be executed:
- Load: the rule will be executed when Form loads
- Submit: the rule will be executed when you save your Model
- Change: the rule will be executed each time you make a change in your form
-
Finally, here you select the controls it will be applied to.
Example
You can show to a label the number of total selected items.
function string CalculatedExpression()
{
    int selectedPerformers = Model.Product.Performers.Length;
    if (selectedPerformers == 0) {
        return "(None Selected)";
    }
    else {
        return "("+selectedPerformers+" Performer(s) Selected)";
    }
}

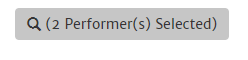
and when you select 2 performers from the specified list, you will see this result: