Hello World! Part Three
This Walkthrough Tutorial will show you how to create an Application from scratch. This part assumes that you already read Part One & Part Two
In this part we will see how to:
- Extend the Domain model with a new class associated with an existing
- Extend existing form with new associated class
Create association between classes
At ProductBO:
- Create one more class
- Name the class Category
- Insert Name as attribute (data type: string)
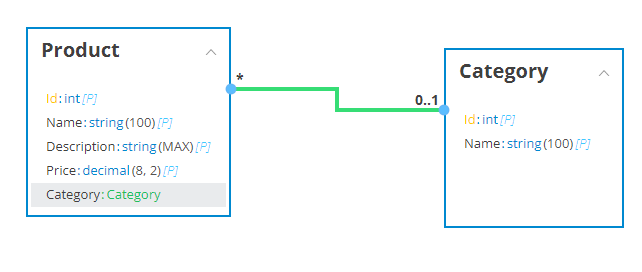
- Hover the Product class close to borders
- When the cursor turns into a cross, click and drag the line until it reaches class Category
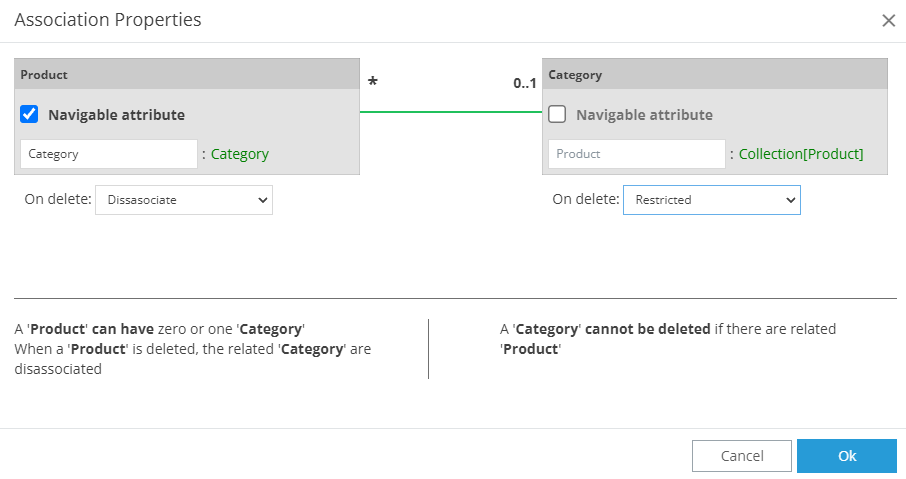
- A modal is displayed
Configure Association Properties as:
- A Product can have zero or one category
- Many Products can have the same category
- On delete of a product, the related category is disassociated
- A category cannot be deleted if there is a related product
- Click OK
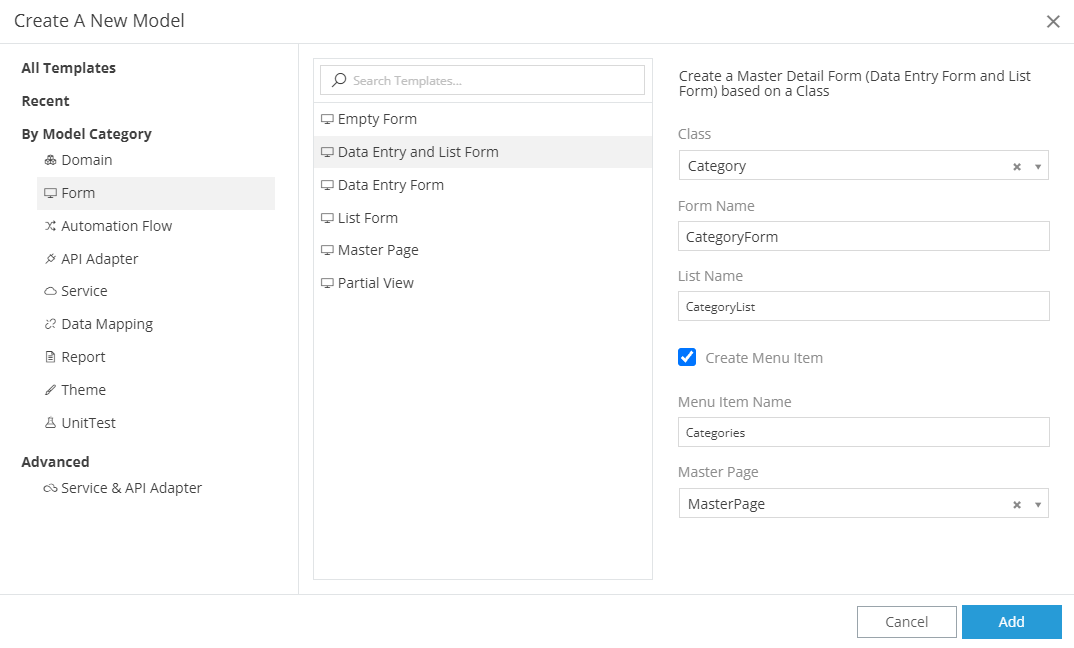
Create Category forms using wizzard
Use wizzard to bootstrap Master & Detail forms for Class Category
Add related class to existing form
Open ProductForm
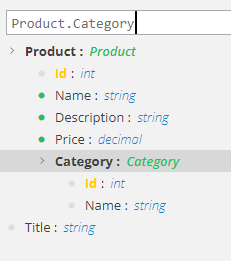
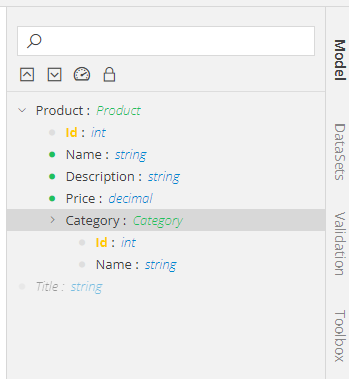
- Select Model on the right
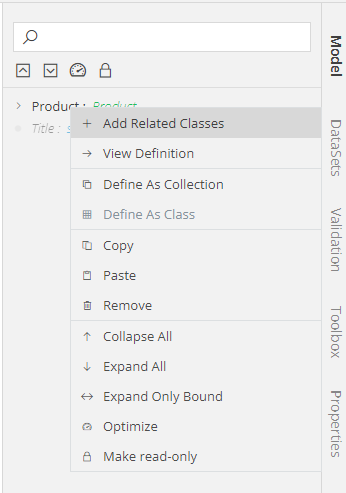
- Right click at property Product
- Select Add Related Classes
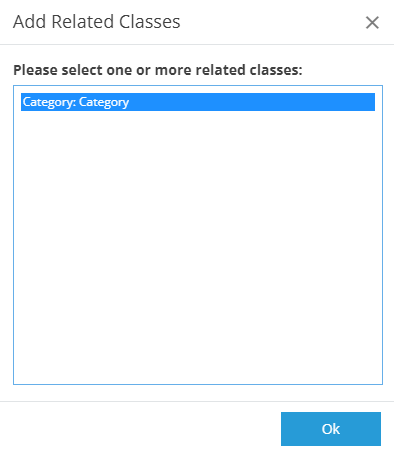
- A modal is displayed
- Select Category class
- Click OK
Add a dropdown
- From Toolbox find the Dropdown control and insert at the canvas
- Select it
From Properties, at DATA section:
- Bind the dropdown to Category
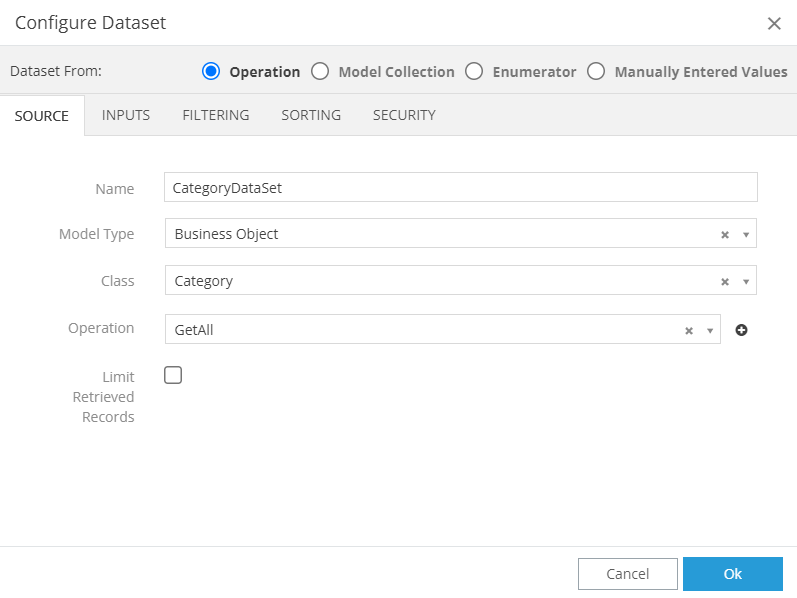
- Create a dataset (from Category class & the operation GetAll)
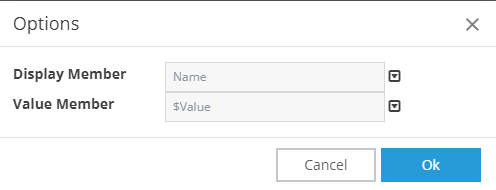
- Click on the Display & Value Options
A modal is displayed:
- Select Name for Display Member
- Select Category for Value Member
- Click OK
- Save, validate and Build the application
At the runtime, the user will be able to select the product category
Speed up using Wizard
At Model
- Navigate to Category
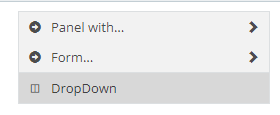
- Drag & Drop it inside the Body
On drop, select as Dropdown
Select the dropdown. As you can notice at Properties wizard created everything needed
Remember
Remember to Save, Validate and Build the application
