Hello World! Part Two
This Walkthrough Tutorial will show how to create an Application from scratch. This part assumes that you already read Part One
In this part we will see how to:
- Create a Class (named Product)
- Create a Product Details Form
- Create a Product List Form
- Insert a menu control at Master Page
- Speed up these processes using Wizard
Create a Class
Create a new Bussiness Object model
What is a Business Object Model?
A Business Object is a collection of Classes. Each class can have attributes, associations with other classes, and οperations
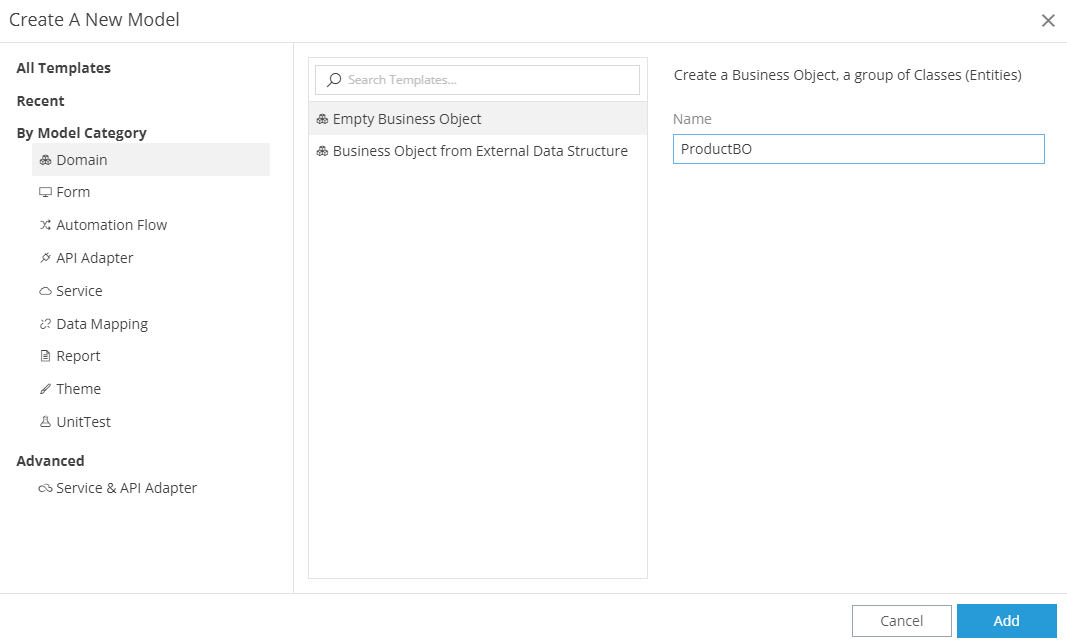
From Explorer on the left, right click on Domain and select Add:
- A modal is displayed
- Select Empty Business Object
- Type for name ProductBO
- Click Add
Tip
Use the BO postfix as a naming convention for your Business Objects (ie ProductBO, SupplierBO etc)
A new empty business object tab opens, displaying an empty canvas
Create a Class
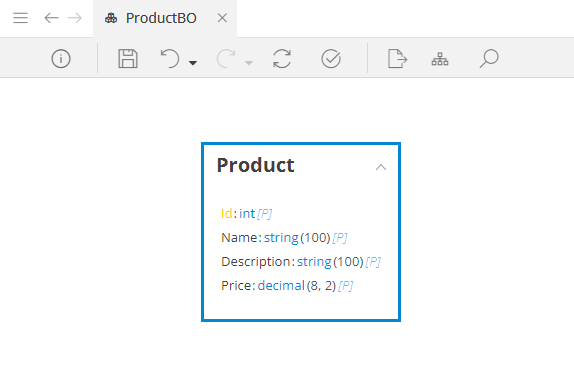
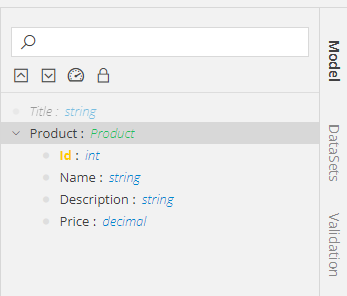
We will create a class named Product consisting of some attributes
- Right click at the canvas, and select New Class
- Type Product for class name
- Right click inside the class and select Add Attribute
- Type Name and select string for data type
- Insert 2 more attributes:
- Description (data type: string ) &
- Price (data type: decimal)
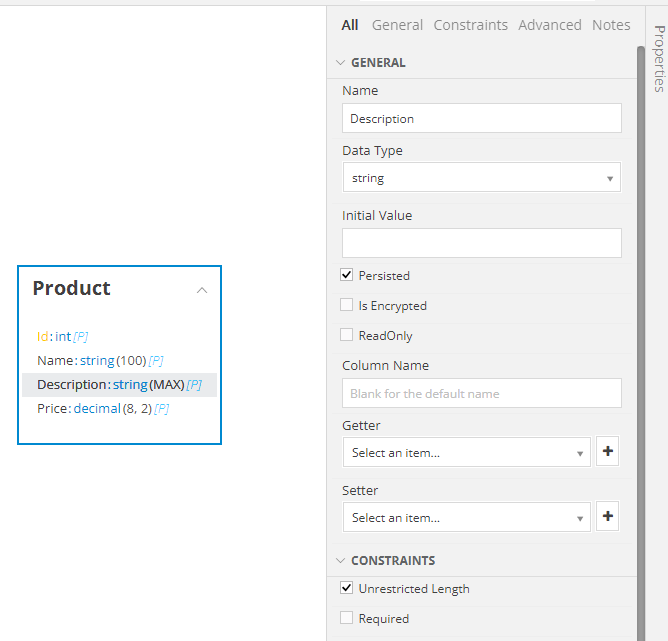
Select the Description attribute and from Properties on the right at CONSTRAINTS section check Unrestricted Length
Create a Product Details Form
We will create a form to display product information. We will:
- Create a form
- Setup the model of the form
- Insert a textbox and bind it to the name of the product
- Insert a button to save the product
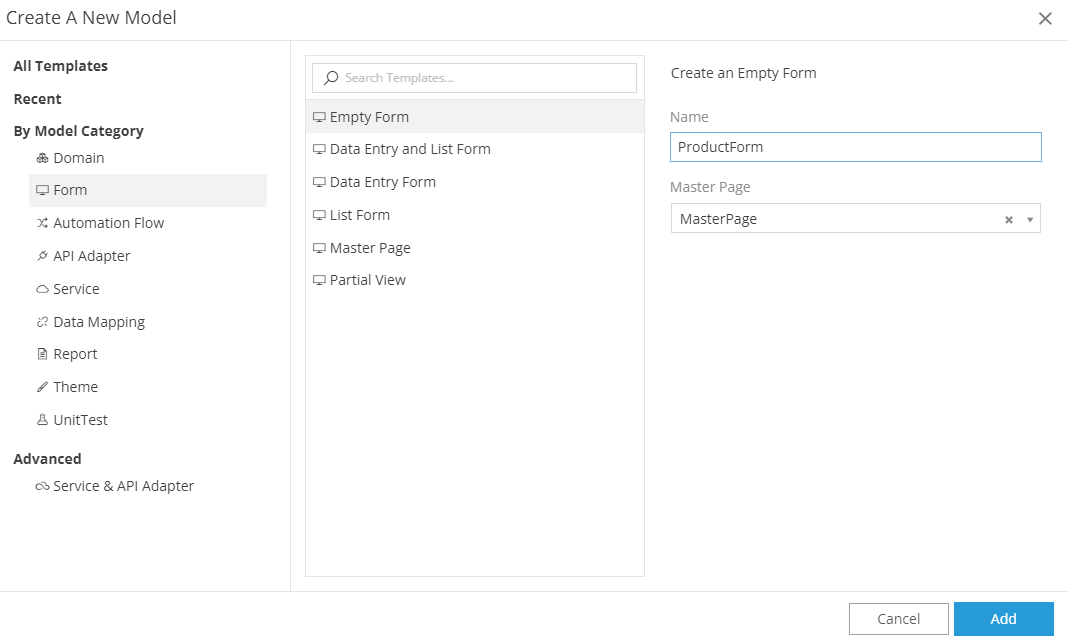
Create an empty form:
- From explorer on the left, insert a new Empty Form
- Name it ProductForm
- Select the MasterPage
- Click Add
Setup the model of the form
Form Model
Forms follow the MVC design pattern. At the Model, you design the data model of the Form, using classes that are already defined in your Domain model or creating new ones. You can then bind your model with your UI (View) and access it through code using the Model variable.
You can find more information here
At ProductForm select Model on the right:
- Hover the plus sign (+) at the bottom
- Select New Domain Property
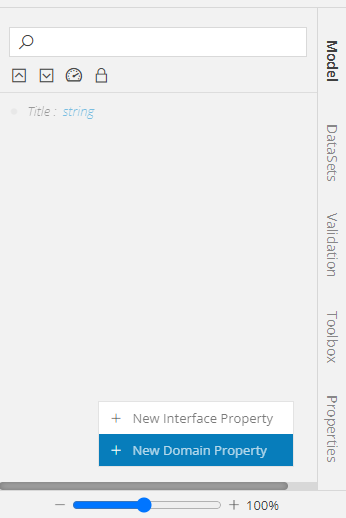
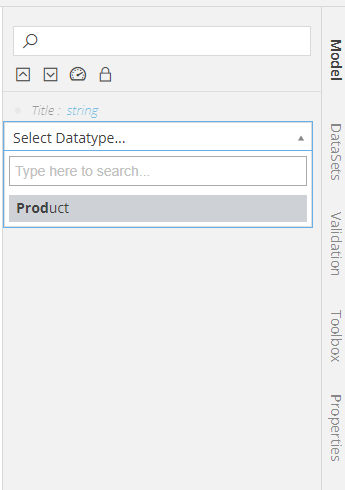
- A text area is diplayed
- Type Product (as Property name) & hit enter
- Find and select class Product from the dropdown
Bind to Product Name
Model-View Binding
You can bind attributes from the Forms' Model to various controls. For editable controls (ie Textbox, Checkbox, Bound Table) it is a two-way binding, meaning that any data-related changes affecting the Model are immediately propagated to the matching control(s) and any changes made in the control(s) are immediately reflected in the underlying Model
Go to Toolbox
- Find the Τexbox control
- Drag & Drop it inside the body
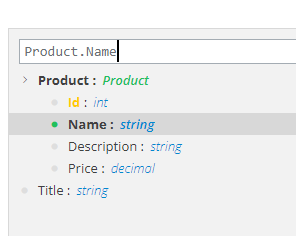
Select the textbox. Go to Properties :
- At DATA section
- Below Model Binding click on the three dots
- From the tree find and select Product.Name
Save
- Click on Controller at the bottom of the tab
- Hover the plus sign (+)
- Select New Controller Action
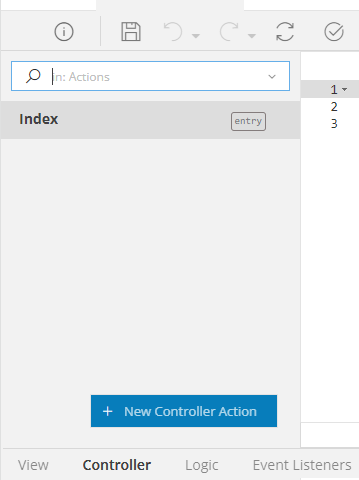
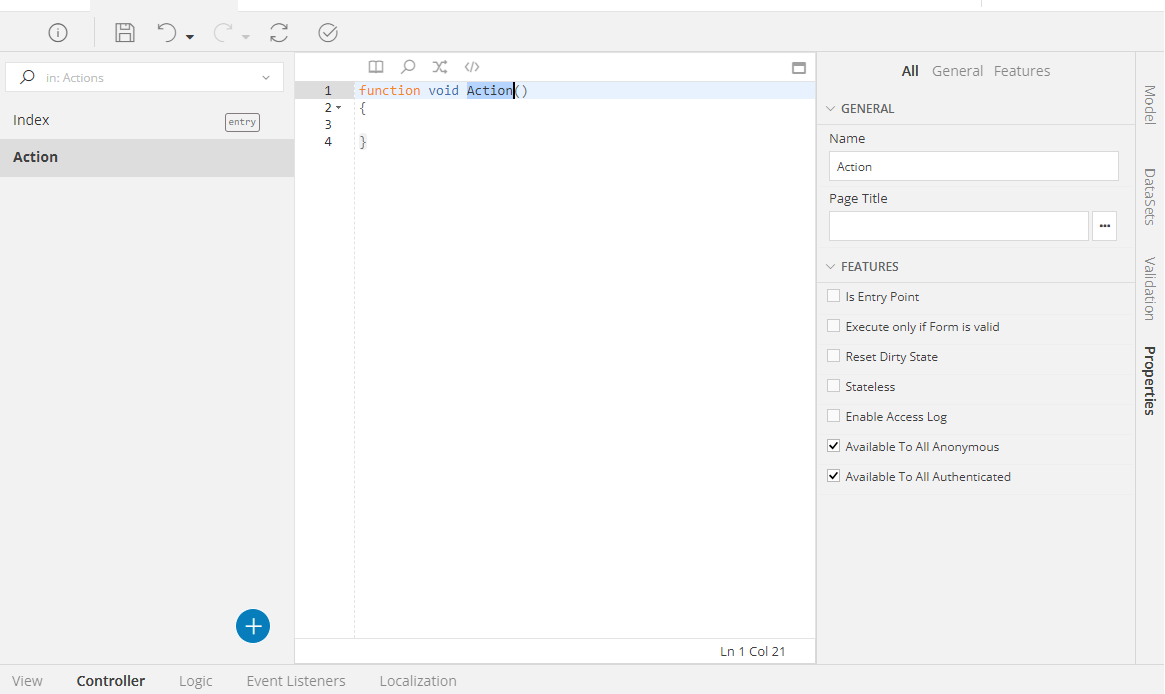
- A new Action is created. Change the Name to Save
- Add the following code:
function void Save()
{
    Model.Product.Save();
    CloseForm();
}
- At Properties check Reset Dirty State

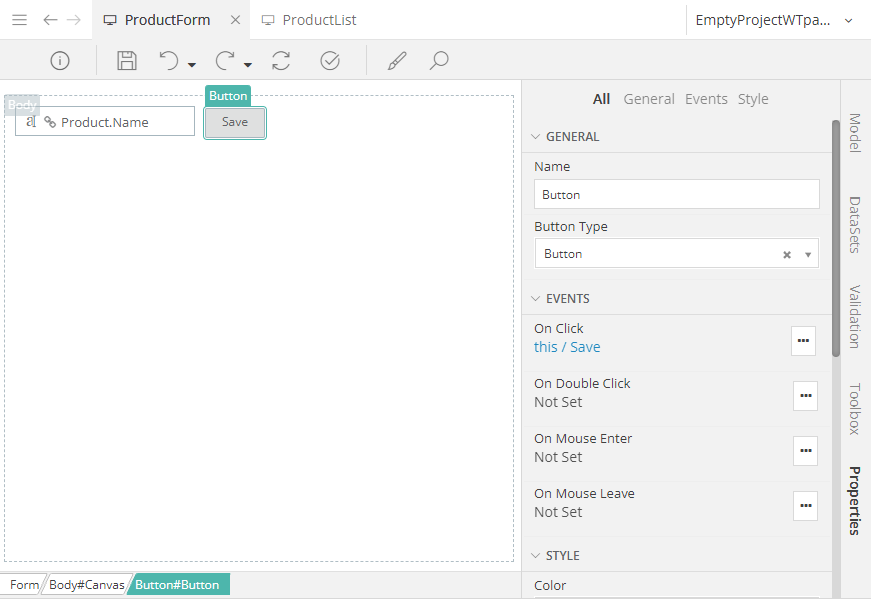
- Go back to tab View
- Insert a Button and change the caption of the label to Save
- Add an on click event to the button
- At the displayed modal, for Controller Action select Save
Edit
- Go to Controller
- Create a New Controller Action
- Name the Action Edit
- At Properties check Is Entry Point
- Insert the following code
function void Edit(int id)
{
    Model.Product = Domain.Product.GetByKey(id);
    Model.Title = LocalResources.RES_PAGETITLE_Edit;
}

Create a Product List Form
We will create a form to display all products. We will:
- Create a form
- Insert a list control
- Create a dataset to get the products from database
- Insert buttons to add & edit a product
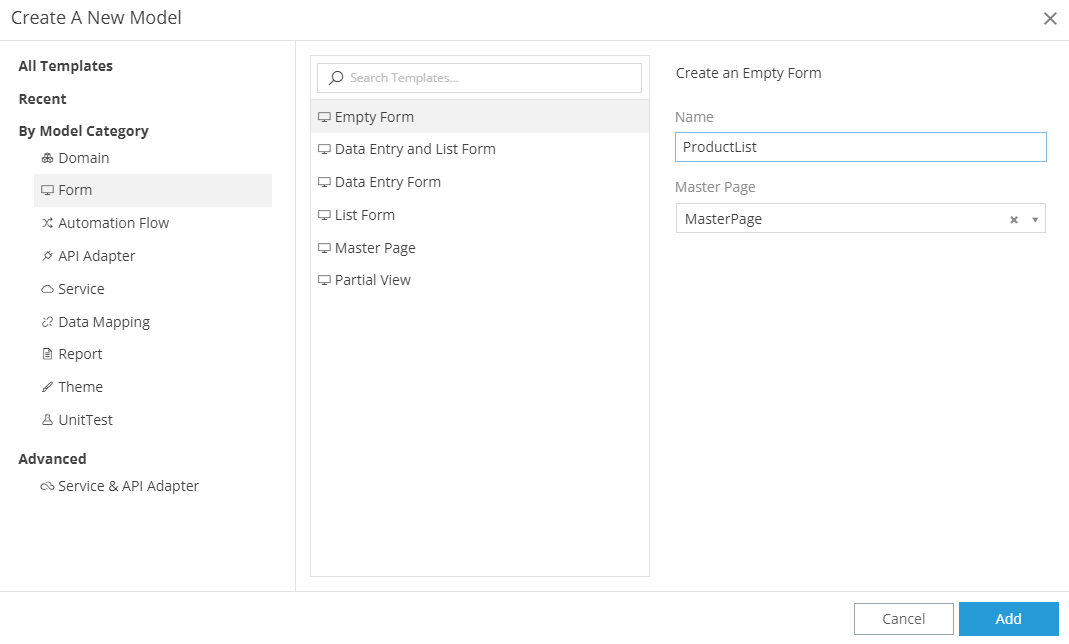
Create an empty form
- Insert an Empty Form
- Name it ProductList
- Select the Master Page
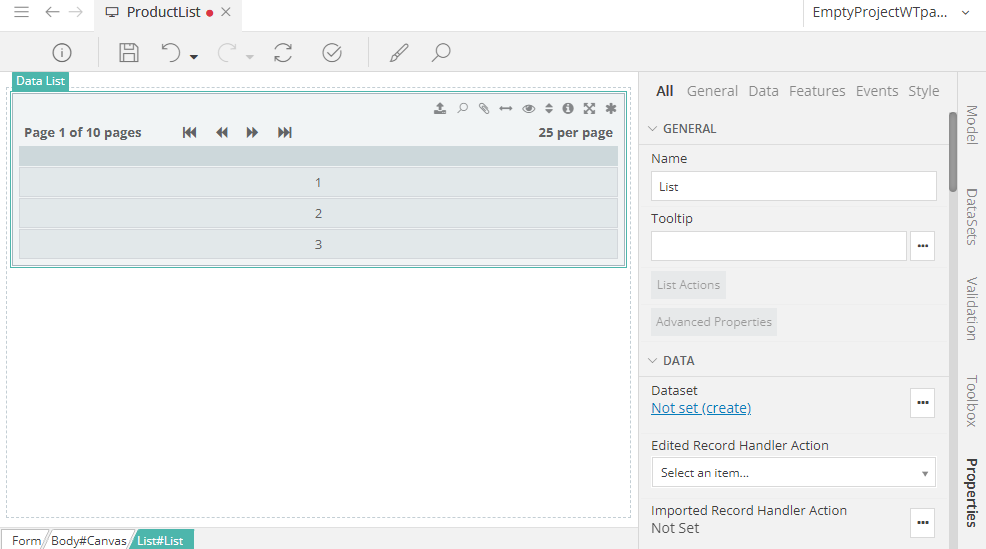
Insert a Data List Control
At ProductList, from Toolbox on the right:
- Find the Data List control
- Drag & drop it inside the Body
Dataset
Select (double click) the data list. From Properties on the right:
- At DATA section click on Create a Dataset
What is a Dataset?
With datasets, you define how to access data from a specific Datasource (database, external service, operation, etc). You can then bind a Dataset with specific controls (List, Map, etc) so you can display this data. Datasets, among other things, contain filtering sorting and paging semantics
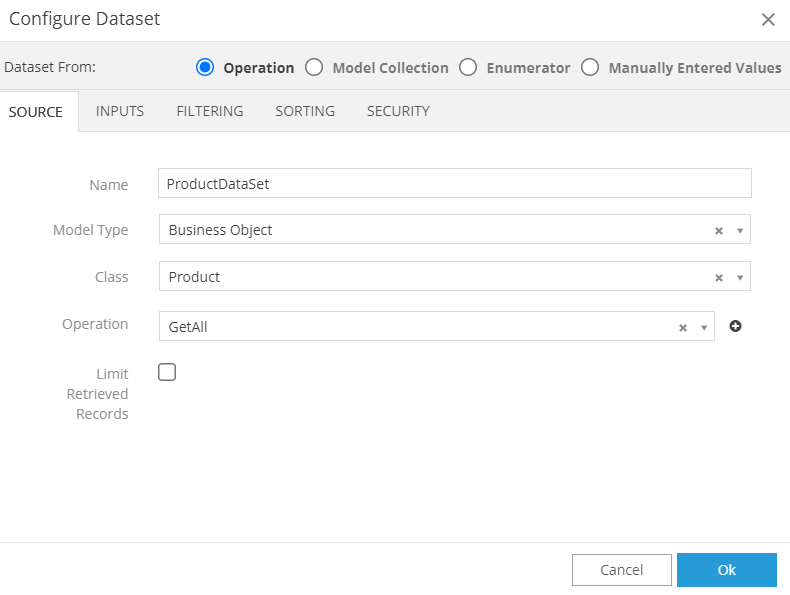
A modal is displayed:
- First off, select Class Product
- As you may notice, Name is automatically filled, as well as the operation Get All
- Click OK
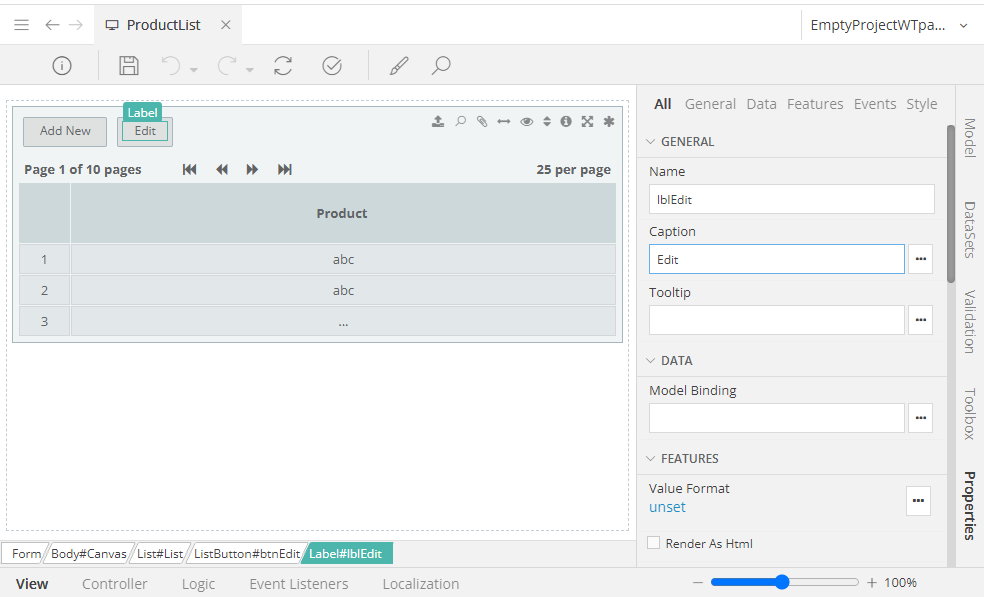
Insert columns at a Data List
- Right cick on the Data List
- Select Add column
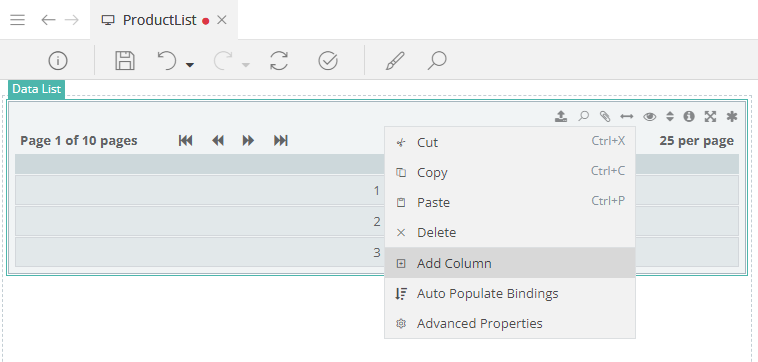
- Click on the column to select it
- For Caption type Product
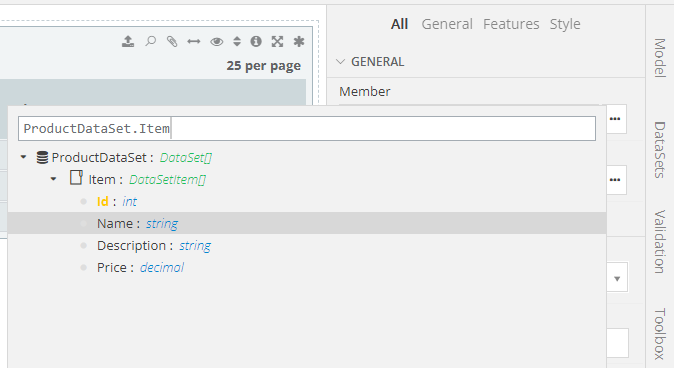
- To select the Member click on the three dots
- Navigate to ProductDataSet, Item and select Name
Insert buttons at a Data List
We will insert two buttons, Add & Edit:
- Select the Data List
- Click Advanced Properties
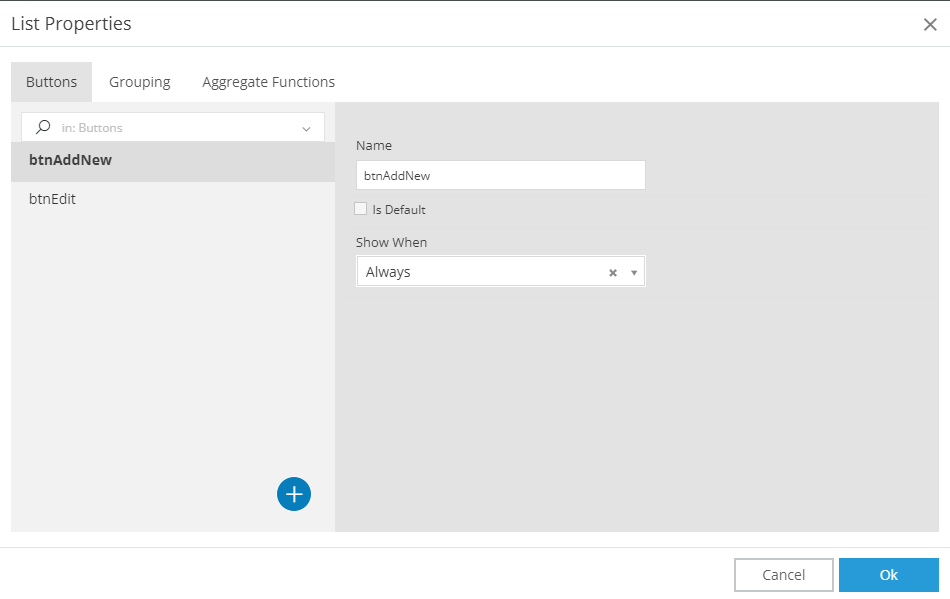
- A modal is displayed:
- Hover the plus sign (+) and select New Context Menu
- For Name type btnAddNew and select Show Always from the dropdown
- Insert one more button, name it btnEdit and select Show when one line is selected
- Click OK
Select the label of each buton and change their caption to Add New and Edit accordingly
Add
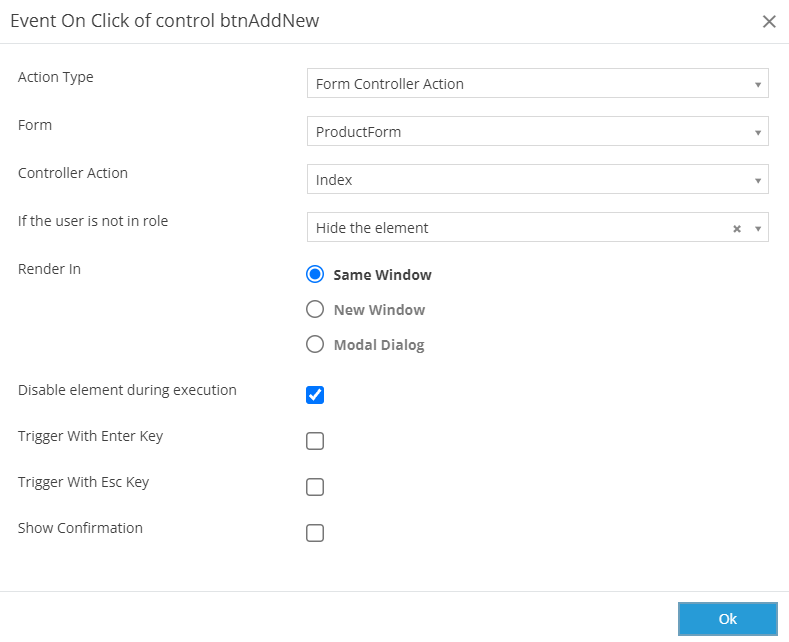
Redirection to ProductForm to add a new product:
- Select the button Add New
- Go to Properties
- Add an on click event to the button
- At the displayed modal:
- For Action Type select Form Controller Action
- Select the ProductForm
- Select Index for Controller Action
- Click OK
Edit
Redirection to ProductForm to edit a selected product:
- Add an on click event to Edit button
- At the displayed modal:
- For Action Type select Form Controller Action
- Select the ProductForm
- For Controller Action select Edit
- For Action Parameters insert: FormControls.List.SelectedItem.Id
- Hit the enter button
- Click OK

Save, Validate and Build
Reminder
Always remember to save your changes
You can also validate  to check for errors
Insert a menu control at Master Page
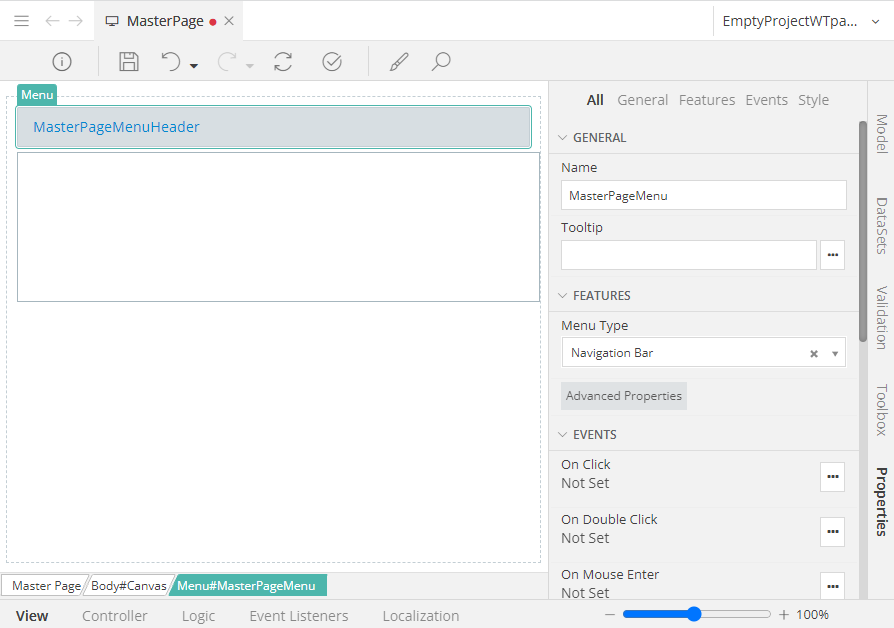
Add a menu control:
- Find and open Master page from Explorer on the left
- From Toolbox insert a Menu control at the Body
- Select it
- From Properties, at FEATURES section, select as Menu Type the Navigation Bar
Click on Advanced Properties. A modal is displayed:
- Click the (+) plus (on top left of the modal)
- A menu item is inserted.
- Select it
- On the right side of the modal, type as name ProductsMI
- To insert Display Name click on the three dots and type the name Products at the newly displayed modal

NAVIGATION
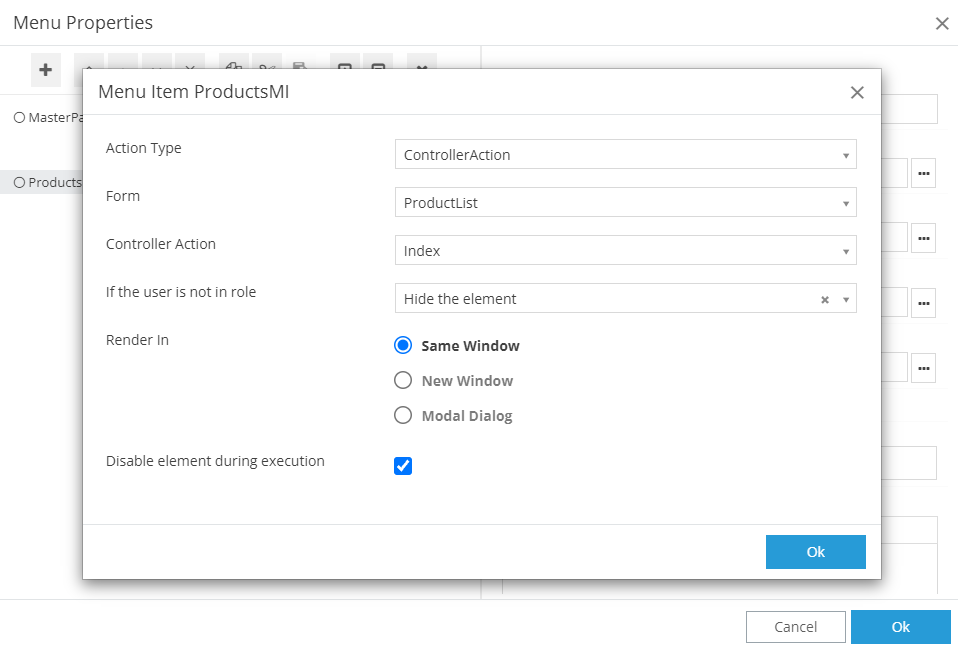
For On Click Action:
- Select the three dots
- At the newly displayed modal select: ControllerAction, ProductList, Index
- Click OK
Note
At this point we have an application that we can configure a product
Save, validate, build & run the application to see the results
Speed up these processes using Wizard
Go to ProductBO:
- Hover Product class and right click
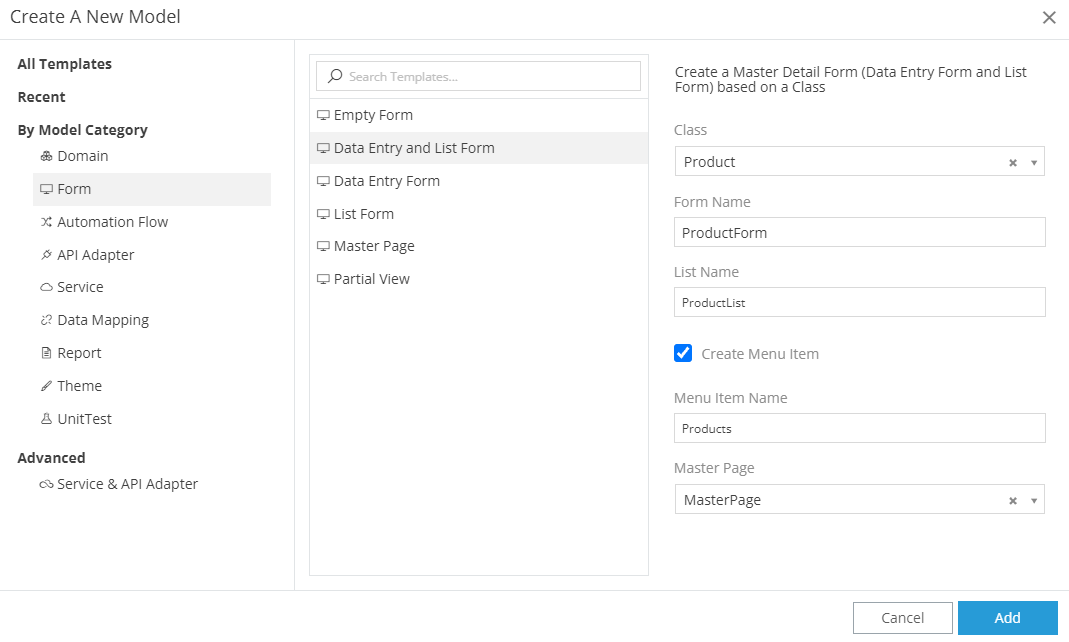
- Select Create Master Detail Form

A modal is displayed. You may notice that fields are already filled:
- Model Category: Form
- Template: Data Entry and List Form
- Class: Product
- Form Name: ProductForm
- List Name: ProductList
- Create Menu Item is checked
- Menu Item Name: Products
- MasterPage: MasterPage
- Click Add
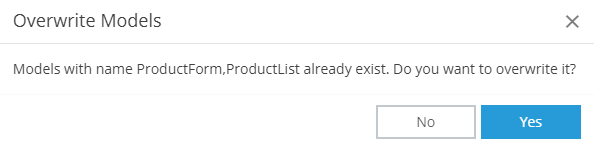
Note
You can either change the form, list and menu item names, either you can overwrite the models we created earlier
You will notice that everything we created earlier, is created automatically:
Product List
- A column for every attribute
- Two buttons (Add & Edit a product)
Product Form
- Each attribute is inserted in a form group consisting of a textbox (or textarea) and a label
- Buttons Save & Delete a product, as well as Exit the product form with the appropriate controller actions
Master Page
- A menu item that navigates to the ProductList