Rest API Integration
This Tutorial will show you how to Integrate with a rest API using zAppDev. In this part we will integrate with this1 API, which has two endpoints: one that returns a list of all countries, and another that returns all cities filtered by country. Then, we are going to use this API to design a form, from which a user can select a country and then a city (according to the selected country).
Consume a Rest API
Countries
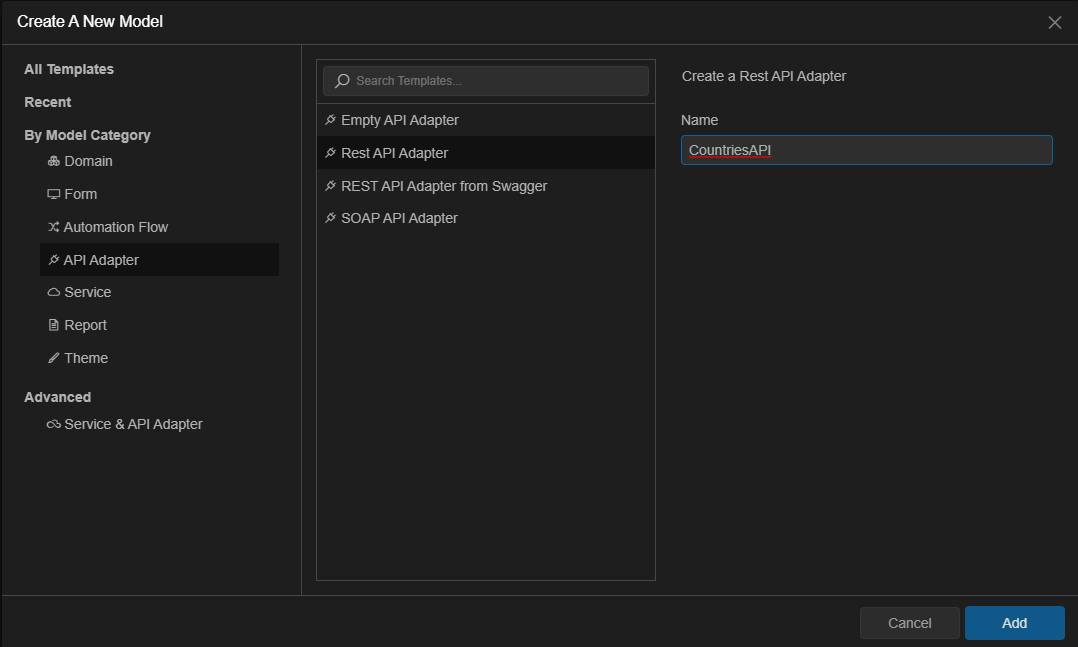
- From Explorer on the left, create a new API Adapter
A modal is displayed
- Select Rest API Adapter as Template
- Type a name (in our example CountriesAPI)
- Click Add
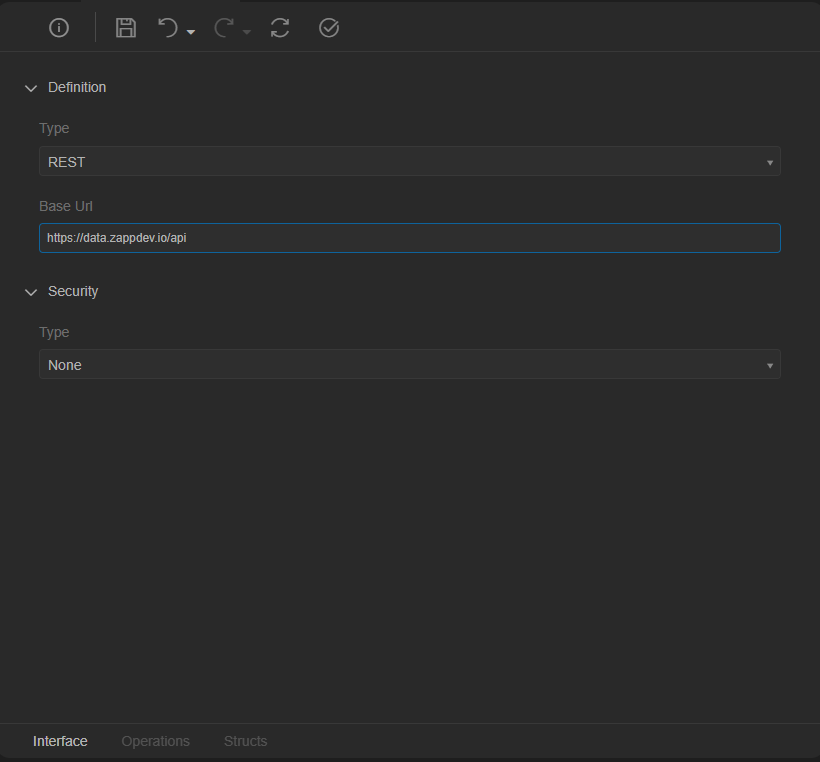
The new API Adapter model is displayed
At tab Interface:
- Select REST as Type
- For the Base Url, type https://data.zappdev.io/api
Operations
At tab Operations you can model all the endpoints of the API. Each endpoint is an operation and has all the needed properties to map a REST endpoint (HTTP VERB, URL, inputs etc).
You can read more here
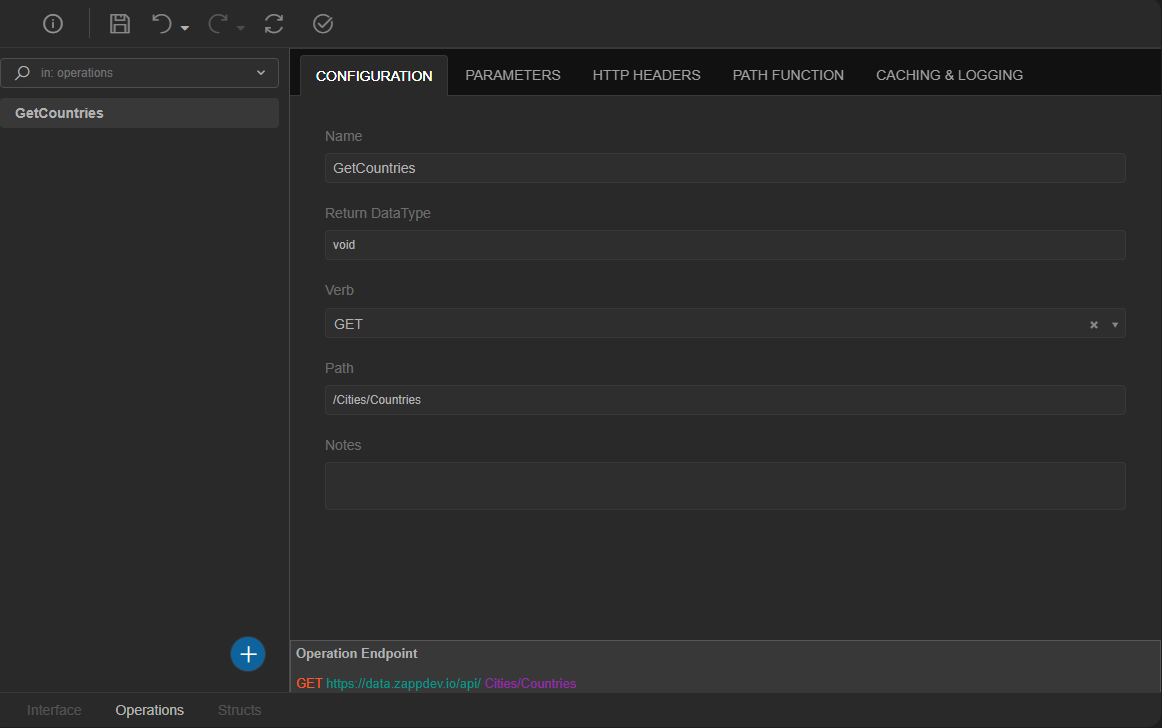
Go to tab Operations (bottom of the screen) and add a new operation (from the plus "+" sign)
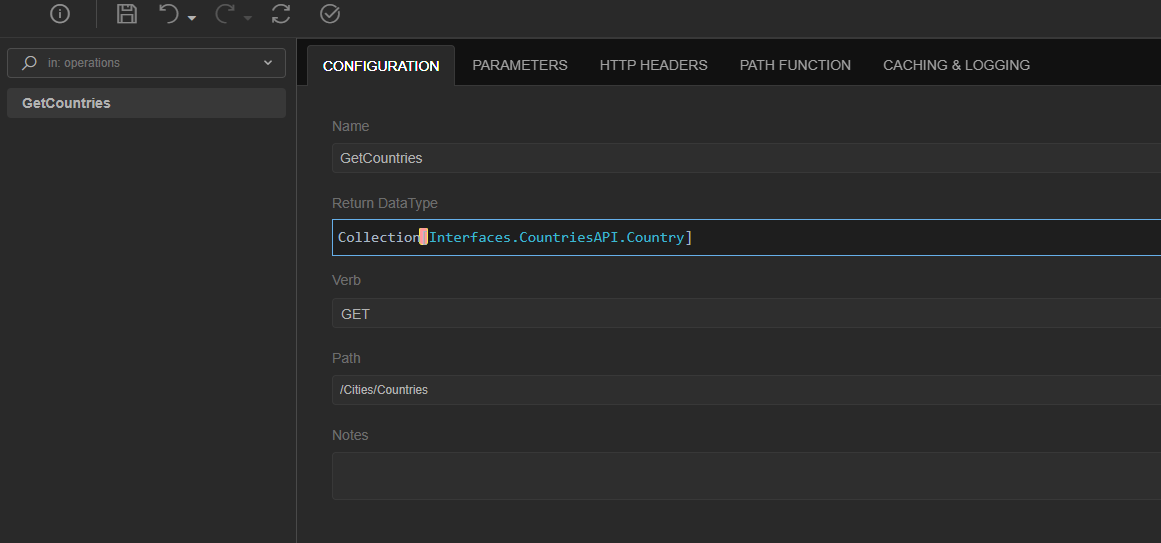
- At Configuration tab type the Name GetCountries
- For the Path, type the relative path [In our example is: /Cities/Countries]
Structs
Here you define all the Schemas (requests & responses) used by the API you are modeling.
You can read more here
Go to tab Structs (bottom of the screen)
- Add a New Imported Struct
Import Struct
A wizzard parses a JSON schema (from a Url or a text input) and automatically converts it to Structs
A modal is displayed:
- Select From Json Url
- Type Country for Root Class Name
- Type the following url https://data.zappdev.io/api/Cities/Countries
- Click OK

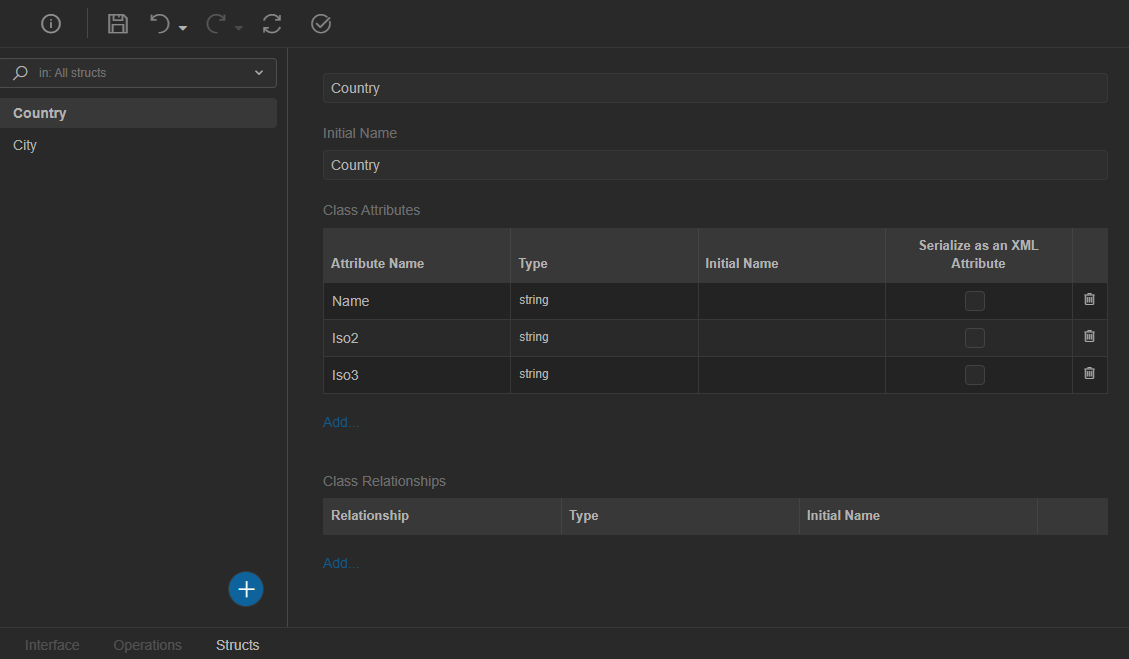
As you may see, a Class and its attributes have been created
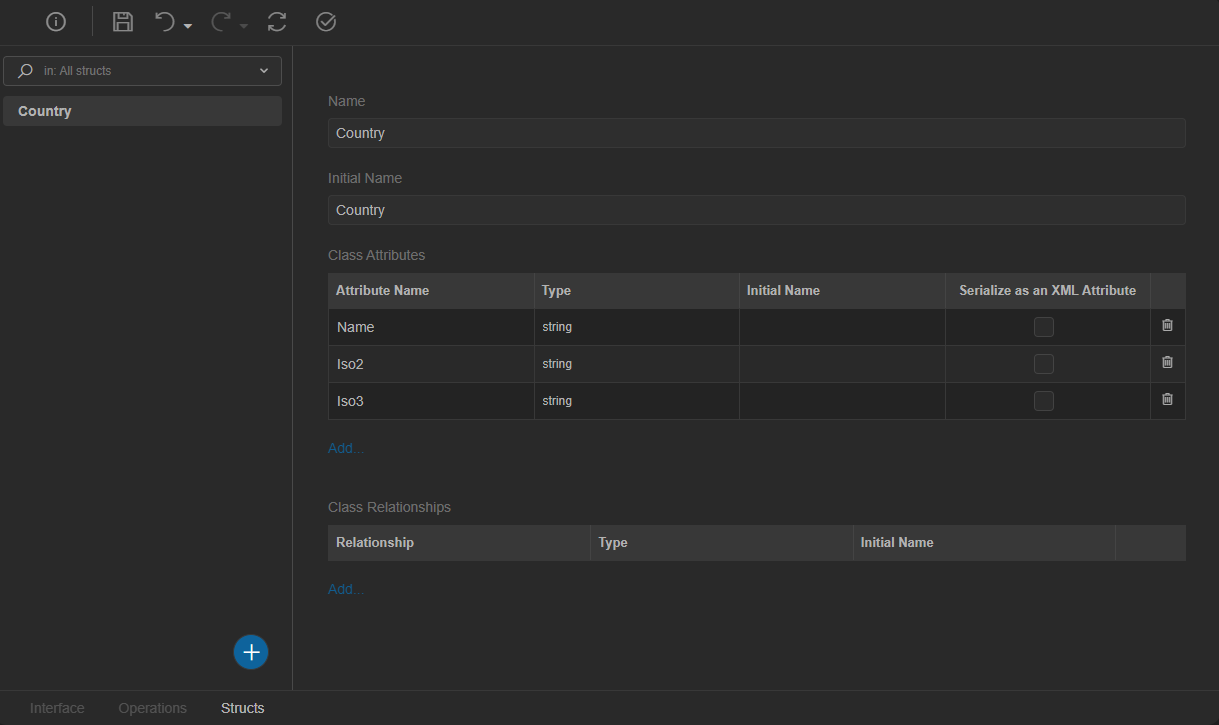
- Return to Operations tab
- At Return DataType insert Collection[Interfaces.CountriesAPI.Country]
ToDo
Do the same for Cities
Steps are the same, except for that cities have a parameter
Cities
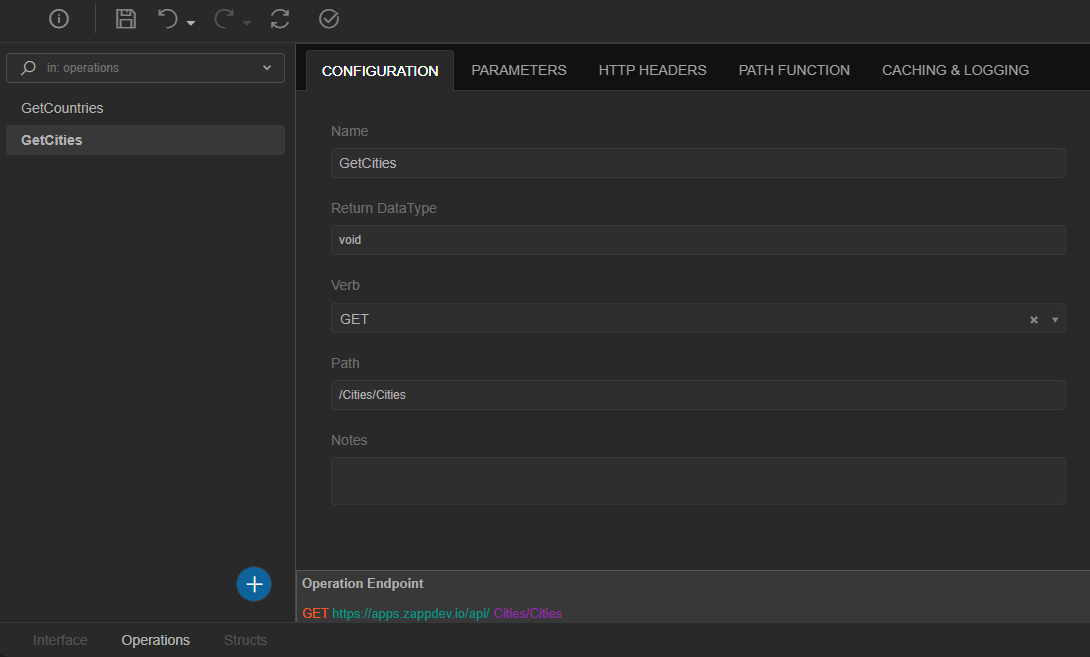
Go to tab Operations and add a new operation (from the plus "+" sign)
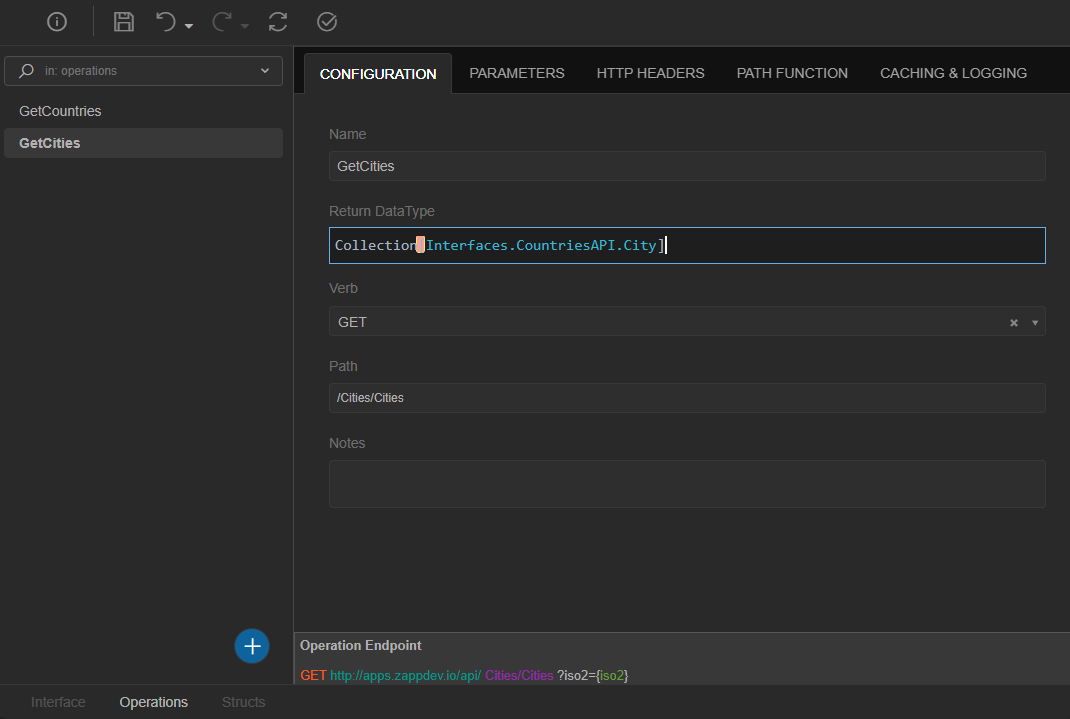
- At Configuration tab, type the Name GetCities
- For the Path type the relative path [ /Cities/Cities ]
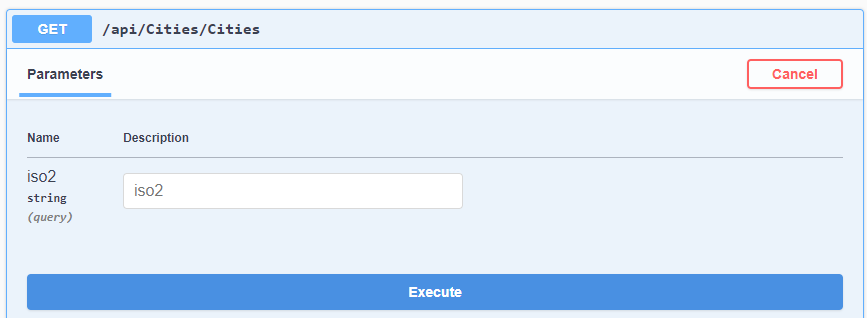
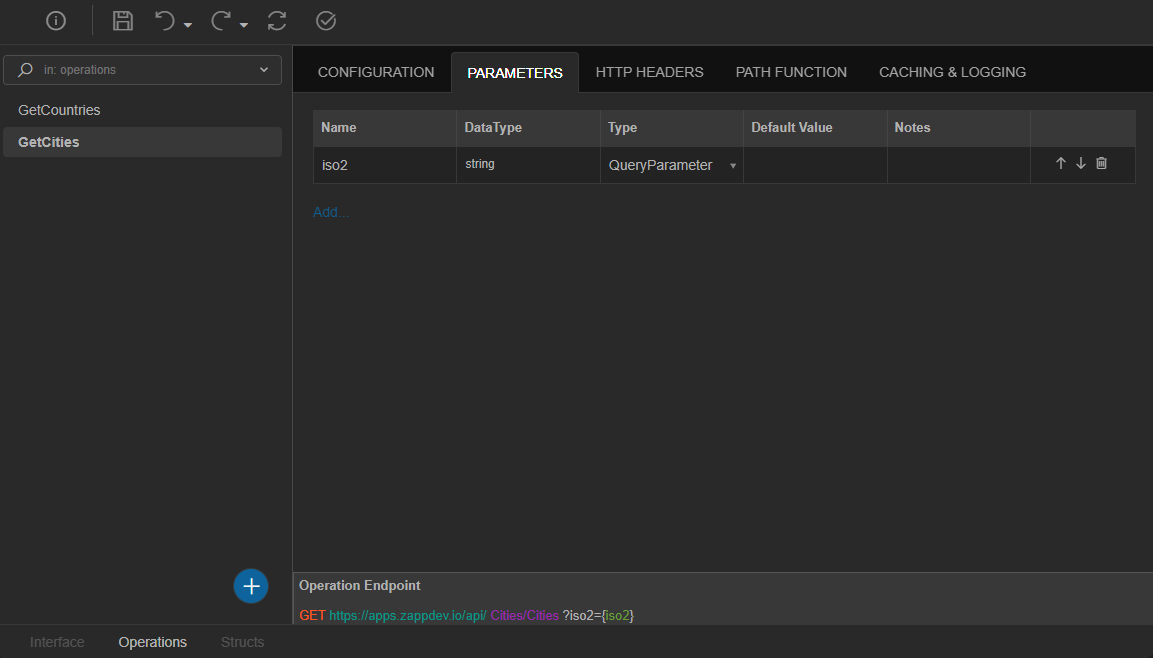
As can be seen from the swagger, Cities have one parameter: iso2
Go to tab Parameters
- Click the Add
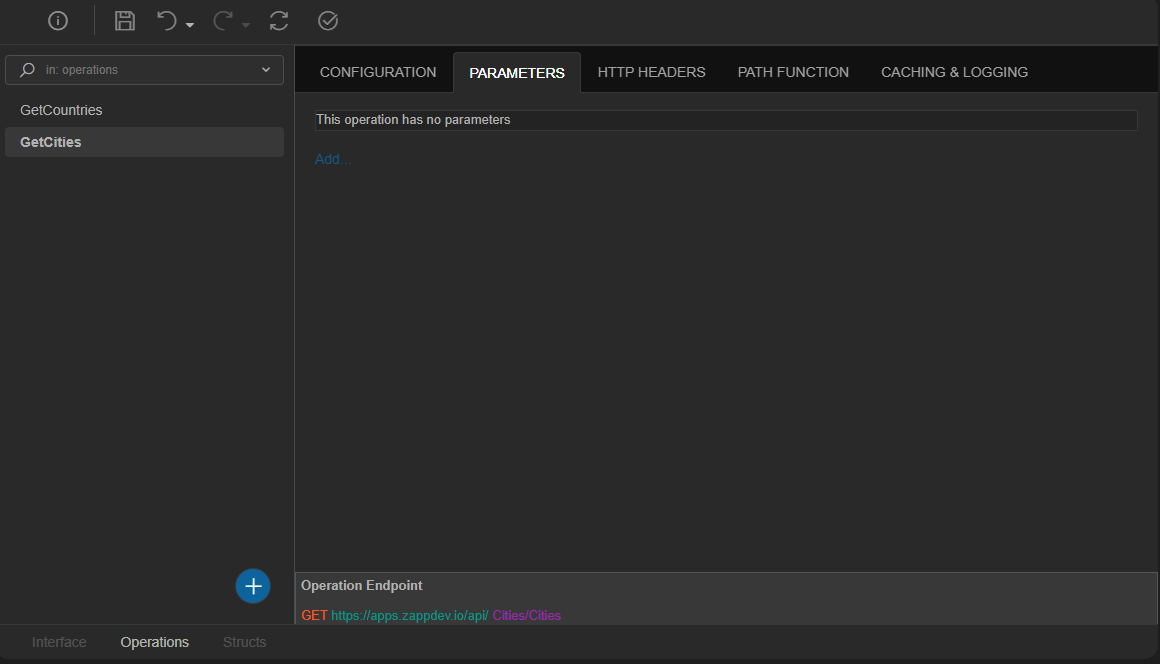
A table is displayed
- Type iso2 at column Name
Go to tab Structs
- Add a New Imported Struct
A modal is displayed:
- Select From Json Url
- Type Country for Root Class Name
- Type the following url https://data.zappdev.io/api/Cities/Cities?iso2=GR
- Click OK

As you may see a Class and its attributes have been created
- Return to Operations tab
- At Return DataType insert Collection[Interfaces.CountriesAPI.City]
Form
We will create a form to display the data requested from the API
- Create a new empty Form and name it CountriesForm
Step 1: Create Model
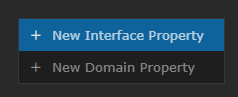
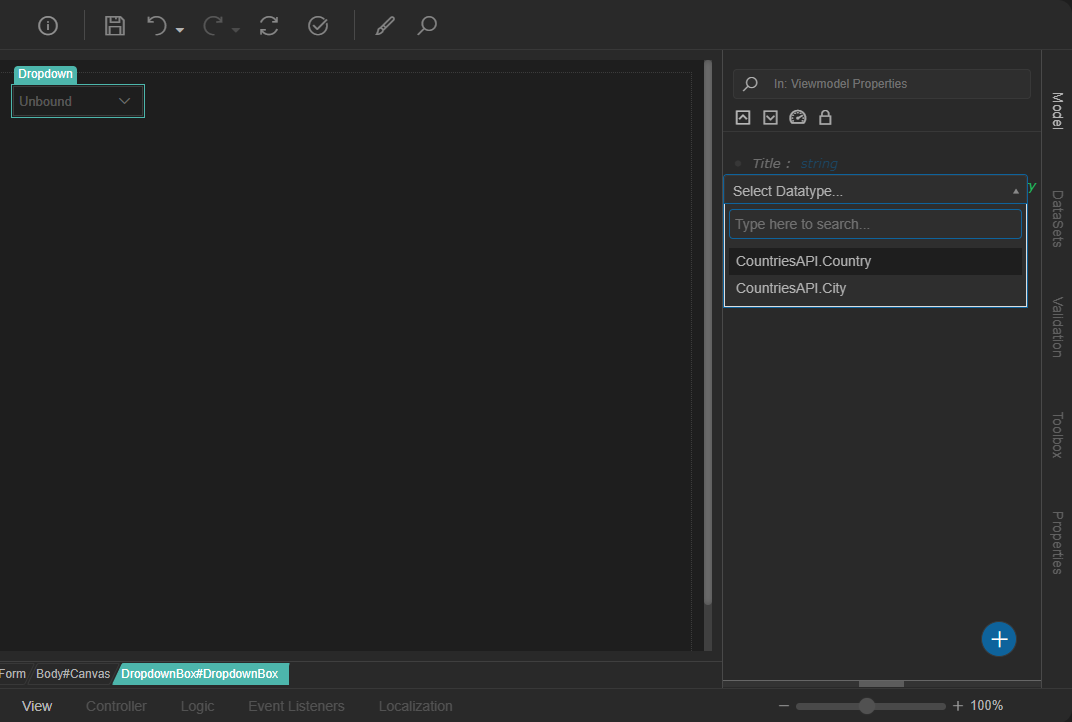
- Add a New Interface Property (From the plus "+" sign on the right bottom of the screen)
- Name it Country
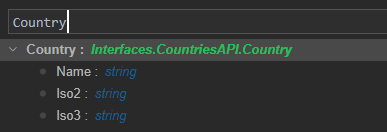
- Select as its Datatype the CountriesAPI.Country
Step 2: Bind the dropdown to the model
- From Toolbox, drag & drop a dropdown
- Select the dropdown
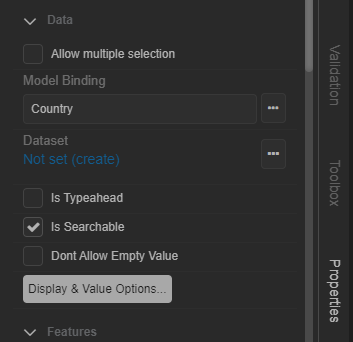
- Go to tab Properties
- At Model Binding select the Country Property
Step 3: Create a Dataset
- At Dataset select Create
A modal is displayed
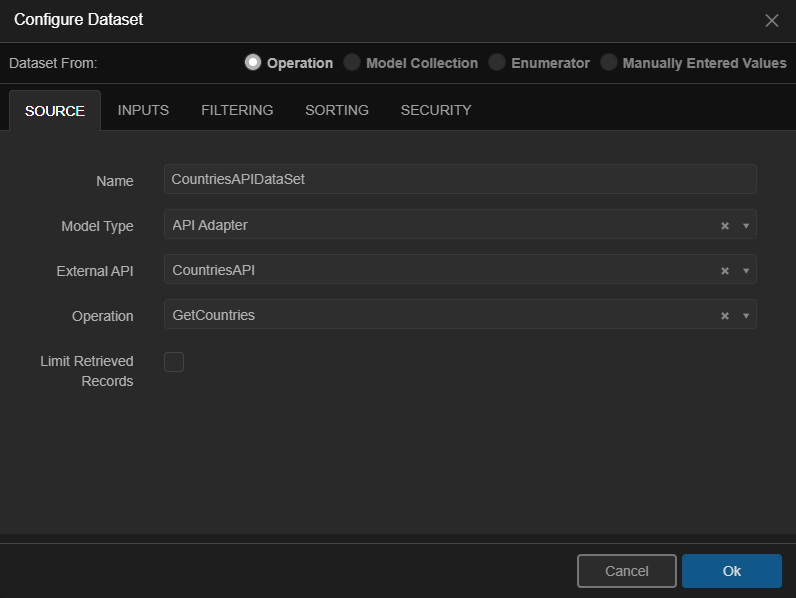
At tab Source:
- For Model Type select API Adapter
- For External API select Countries API
- As Operation select GetCountries
- Click Ok
Note: Name is filled automatically
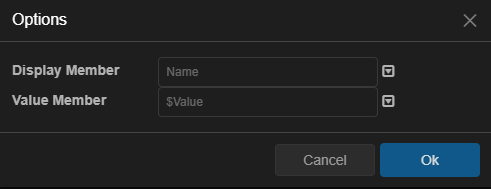
Step 4: Configure Display & Value Options
- Click on the Display & Value Options
- A modal is displayed
- Select for Display Member the Name
- As Value Member select the $Value property
Save, Validate & Build the Application
Todo
Do the same for Cities, the procedure is almost the same.
Remember that a city can be selected, only if a country has already been selected
Step 1: Create Model
- Add a New Interface Property
- Name it City
- Select as its Datatype the CountriesAPI.City
Step 2: Bind the dropdown to the model
- From Toolbox, drag & drop a dropdown
- Select the dropdown
- Go to tab Properties
- At Model Binding select the City Property
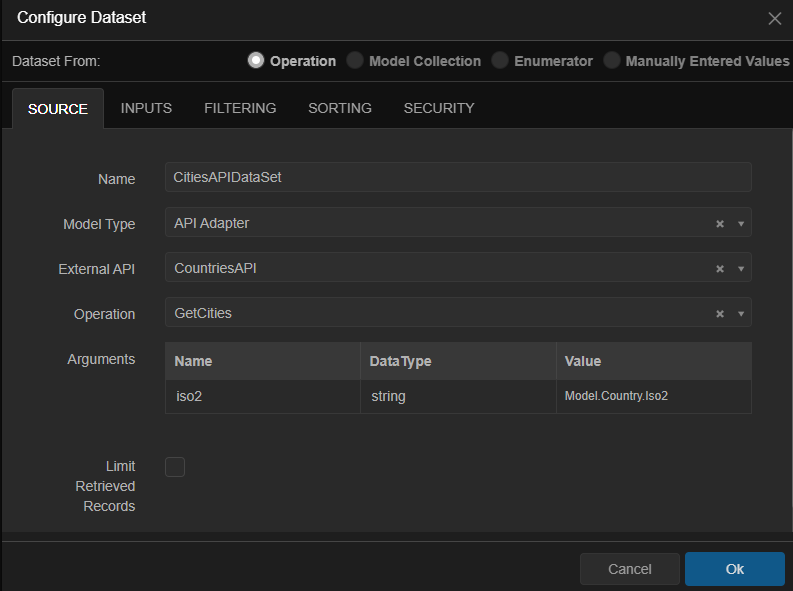
Step 3: Create a Dataset
- At Dataset select Create
At the displayed modal (tab Source):
- For Model Type select API Adapter
- For External API select Countries API
- As Operation select GetCities
- At Arguments for Value type Model.Country.Iso2
- Change the name to CitiesAPIDataSet
- Click Ok
Step 4: Configure Display & Value Options
- Click on the Display & Value Options
At the displayed modal:
- Select for Display Member the Name
- As Value Member select the $Value property
Save, Validate & Build the Application
-
Folow this link: https://data.zappdev.io/swagger/index.html ↩